Garrattfan's Modelrailroading Pages

SHM 26
Final assembly
After all the hard and tedious work of painting and lining comes the most joyous part of any build: adding the detail parts that were left to remain in their metal colours. It is like after you've given the lady a dress you're now adorning her with jewels.
 |
The holes that take up the various detail parts must be cleaned out from paint and coating with a suitable drill. If you simply press the parts in there is a substantial risk that the paint will chip.
|
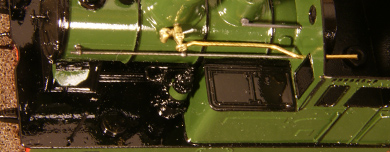 |
Before anything else the detail parts are trial fitted. It is better to check and find nothing at fault then to smear the lot with glue and then find something is wrong.
|
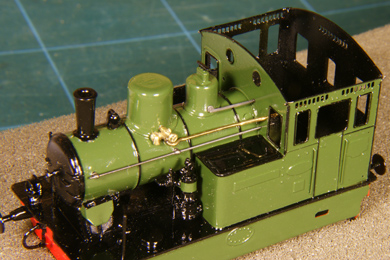 |
The walls of the holes are carefully provided with layer of 2-component expoxy glue. I apply the glue with a pin and round round the inside. Very little does the job. I also added a tiny bit of glue on the stems of the parts. Then they carefully put them into place. I tried to avoid excess glue and if there was to much I wiped it off immediately with a moist cotton ear swab. Be careful to leave no traces.
< Firemen's side done |
 |
The driver's side has the extra of the handrail in two parts and of the snifter valve just behind the sandbox. To keep the snifter valve clear of the boiler, I stuck two layers of Post-It behind it. When the glue had set I removed that and had a nice spacing of just a few tenths of a millimetre. The end of the brass wire protruding into the cab was cut short with a flush cutter. |
|
Done!
|
|
Spot the nine differences with the previous photo. Got them? Scroll down to see if you were right!
|
|
Well here they are, from left to right
Next two very obvious ones
|
|
After this the loco was sprayed with another gloss clear coat to strengthen the existing layer on the painted parts and to give the metal parts a layer that will protect them from discolouration.
|
|
This is how the drive is assembled.
|
|
 |
Two strips of styrene will help to keep the drive snug against the bottom of the footplate. |
 |
|
 |
|
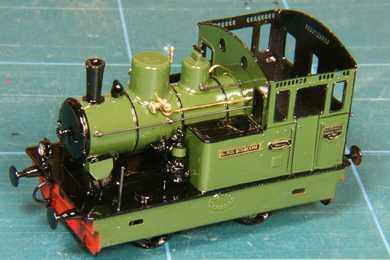 |
On her wheels for the first time |
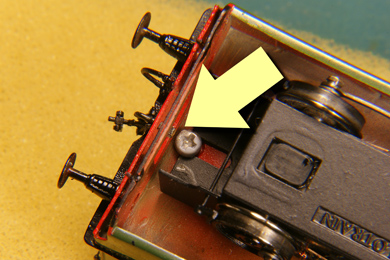 |
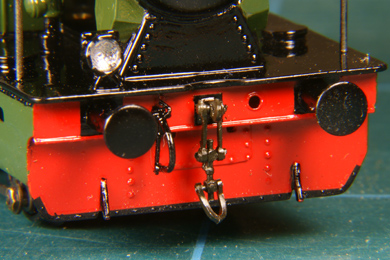
The couplers are of the three link type. Mounting them proved to be less straight forward then I had hoped for. The couplers have a long stem onto which a spring is mounted. This pre-loads the coupler and allows it to move outward when the buffer of the loco touches the buffer of the first car in a curve. Unfortunately I found that on both sides of the loco this stem interfered with the screw that connects the drive to the footplate. No room to go with the spring. I should have addressed this issue at the latest before starting the painting of the loco. Now it was too late. After some thoughts I cut the stems short and attached them with a drop CA. The loco will spend its life in the display cabinet anyway, so why bother. For someone wishing the build this loco as motive power on a layout: address this in the early stages of construction. |
 |
|
Freshly applied
Left to dry, after an hour or so
After three hours
|
Finally the windows were added by applying Microscale's Kristal Klear
I used a tooth pick. I stuck it in the gooey substance, picked up a drop, touched a window post from the inside and worked my way around the edges of the window. I did all windows on one side. After that I left it to dry at least one hour before working another side. It will take up to days to turn completely clear but have faith, it will in the end.
Some other hints and tips.
|
| Well. This is it. It is done! Go to the photo gallery of the finished loco to see the end result | |





Sign my
GuestBook