Garrattfan's Modelrailroading Pages

SHM 26
Superstructure - The cab and the bunkers
|
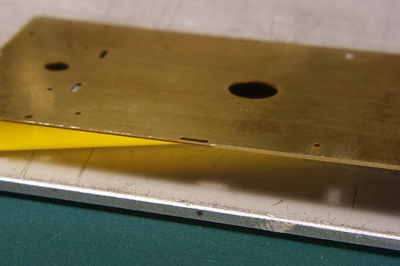
When brass sheet is etched a burr stands proud on the edge of the etch (excuse the pun). It is good modelling practise to remove these etching burrs. The visible edges become nicely smooth and the invisible edges form better bonds when soldered.
So, first thing was to clean up the edges of many parts.
Warning: don't clean up the etch burrs on the vertical sides of the cab. They are purposely etched in a certain way to form a 45 degree angle so that the gap between two right-angled sides closes completely. |
 |
A close-up, on right is done, left is to be done |
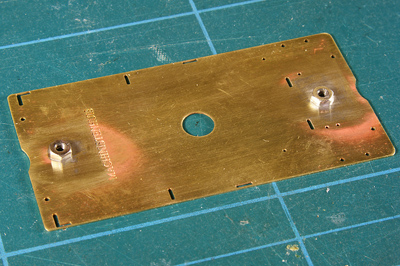 |
First, two nuts are soldered. The nuts will later hold the drive mechanism. I used 240 degree solder to prevent them coming loose during other solder jobs. |
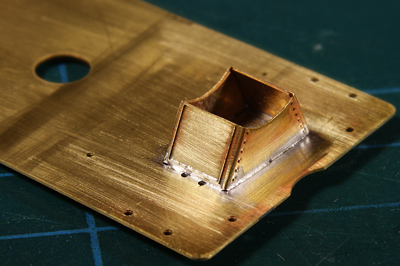 |
The smokebox support in place |
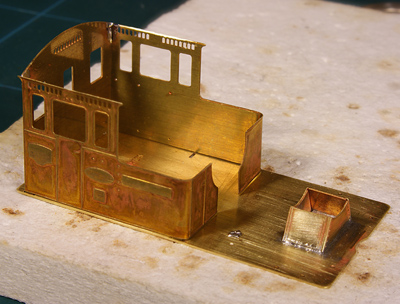 |
The cab tack soldered. The cab sides fall into place by tabs and slots. Once satisfied with the alignment of all parts I ran fillets of solder along the seams. |
 |
|
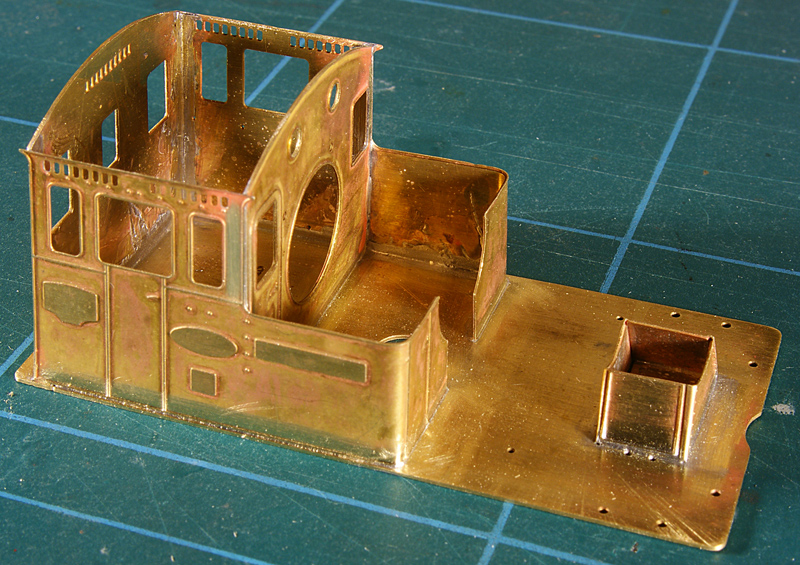
Done, solder fillets cleaned and tabs removed
|
|
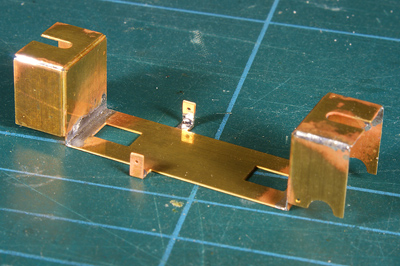
| After taking a look two, three times I concluded that the etch to hold the drive really needed to be folded "the wrong way", that is with etched folding seams on the outside. All seams were strengthened with a fillet of solder. | |
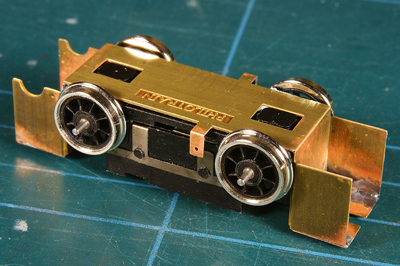
The bottom plate of the Tenshodo SPUD didn't fit in right away. After some scraping (by half a mm on both sides) it did.
As said I will fit in a better drive in due time but for now I'll use the one that is provided. But I must say I find it very disappointing to find a drive like this in this quality kit. On the other hand: the kit dates from 1982. What else was there on the market at the time? |
|
 |
|
 |
|
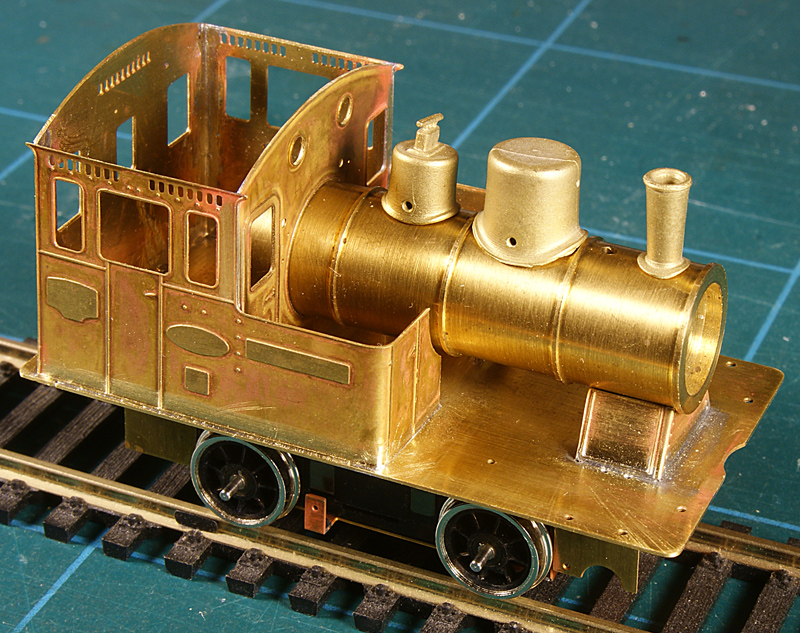
| A quick assembly for the sake of the photo. The boiler and its parts are loosely placed | |



Sign my
GuestBook