Sign my
GuestBook

SAR GMA/M (rebuild)

Inventory of the kit

Unpacking and first look

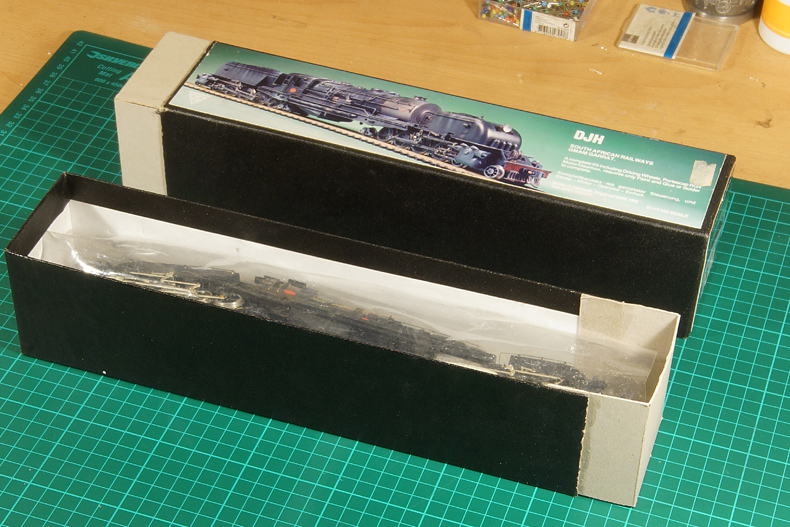
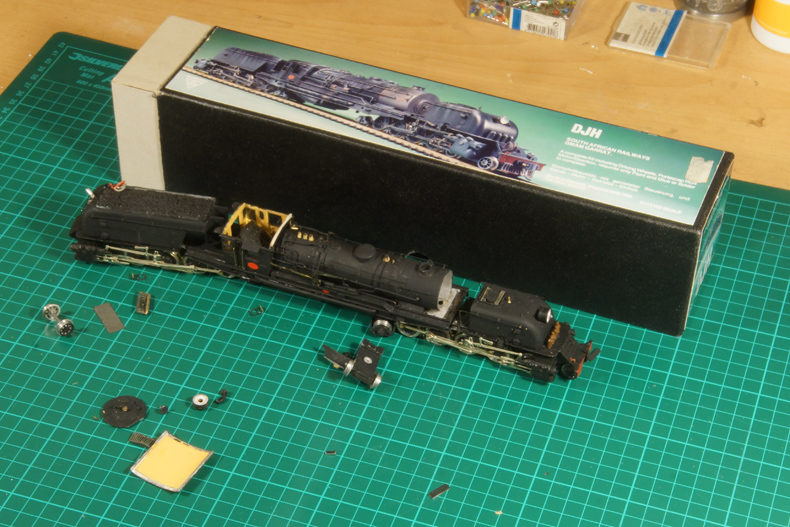
The loco was well packed by the seller. The original DJH box was correctly advertised as "damaged". It had been thoughtfully lengthened to house the completed model in its box. Well, I could see the point of that.

It came out of the box in a flurry of loose parts.

After some arranging of parts relative to their intended location I concluded nothing serious was missing.
Click on the photo to enlarge

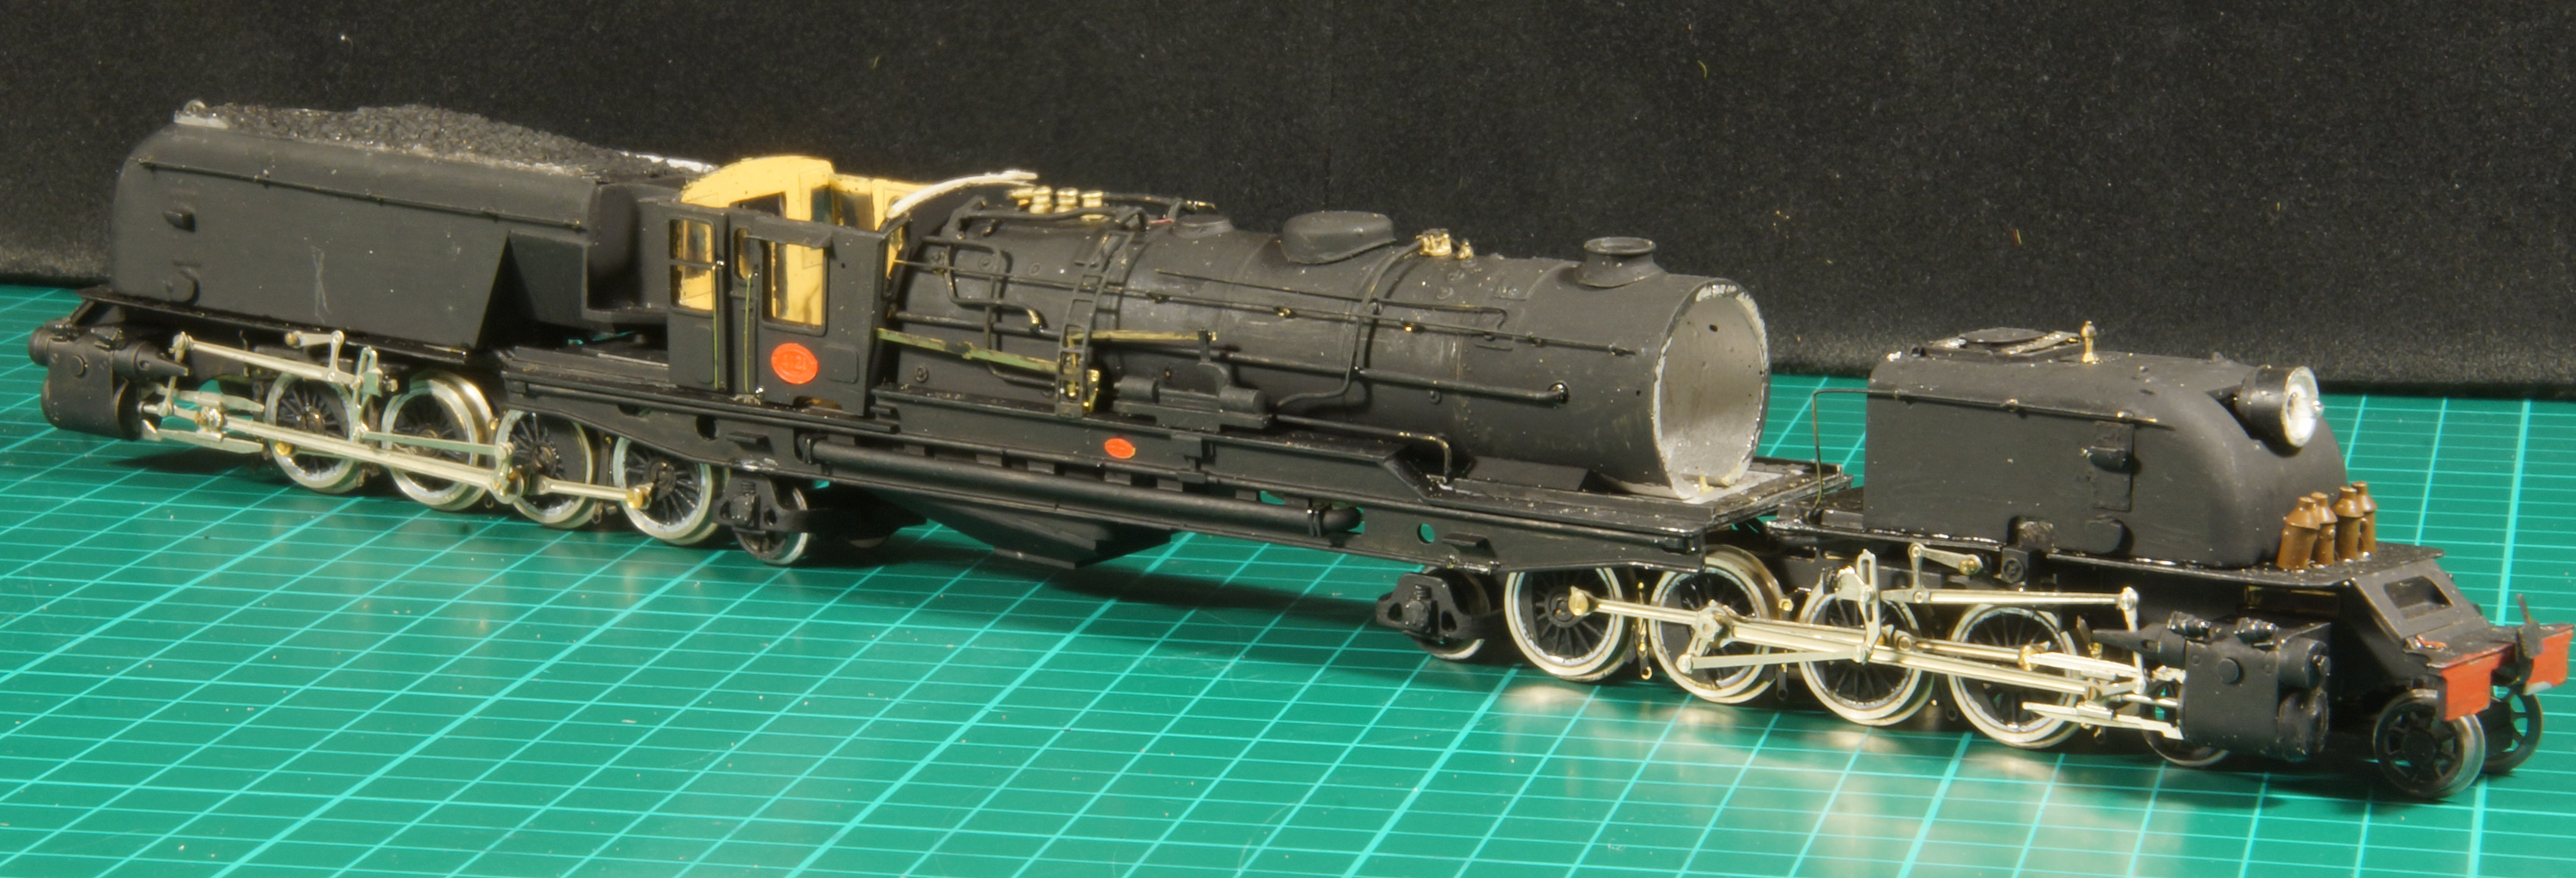
Three quarter front view on the right hand side. Click on the photo to enlarge

Three quarter rear view on the left side. Click on the photo to enlarge

General assessment

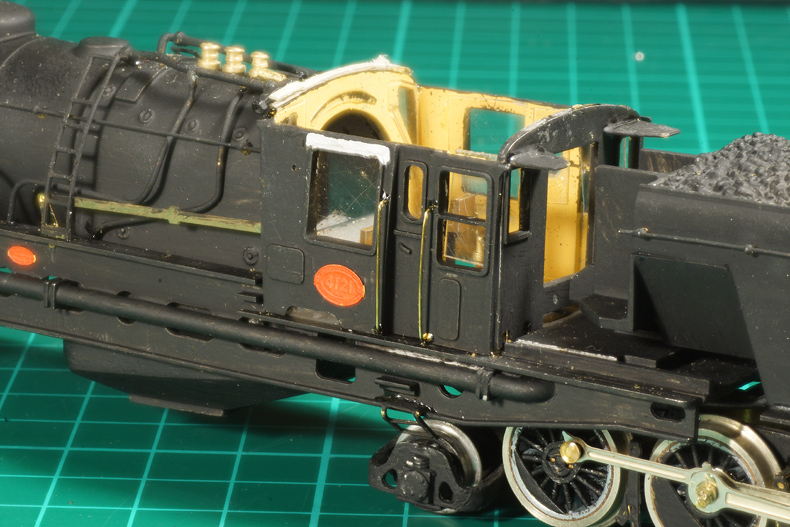
Every detail oozes that this loco was built with love. There is glaring evidence however that the builder was also not very experienced at building metal kits.

  • The loco was glued instead of soldered.
  • None of the parts where cleaned up from casting residues or etching burrs. They were simply stuck together straight from the box.
  • The paint job was bodgy.
    • There was no trace of any primer;
    • the paint coat was hand brushed, thick at places and thin at others
    • and there was no clear coat to protect the paint work.

Taking a look at the way this loco was built I wonder it ever ran satisfyingly.

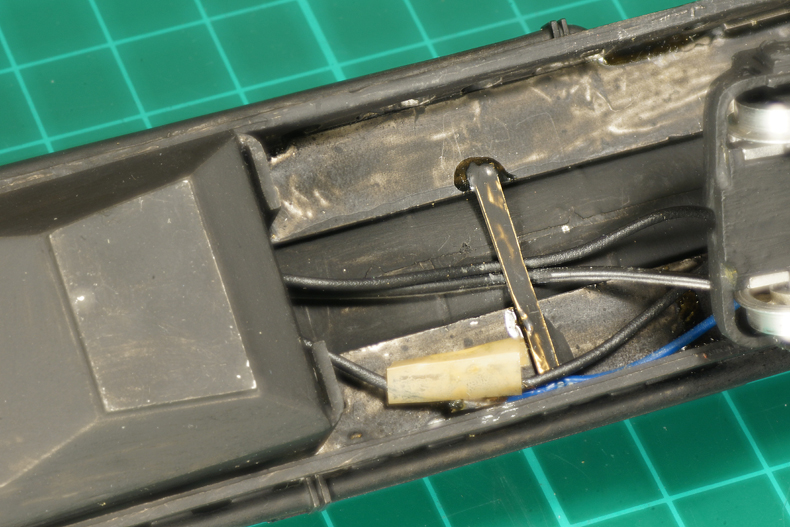
The lighting was done with a grain of wheat, probably the best available at the time. The lamp itself has come off and I do not regret that as it was a rather crude plastic affair with little resemblance of the real thing.

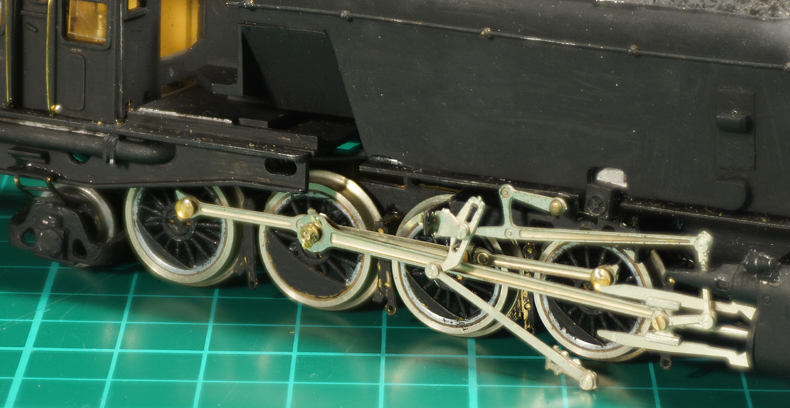
Unsurprisingly two of the four valve gear sets had come loose.
Message to anyone contemplating building a loco like this with glue: DON'T.

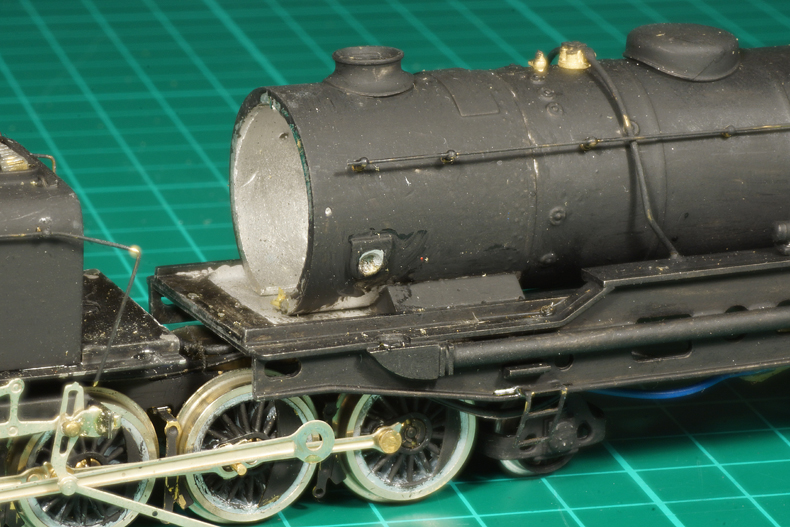
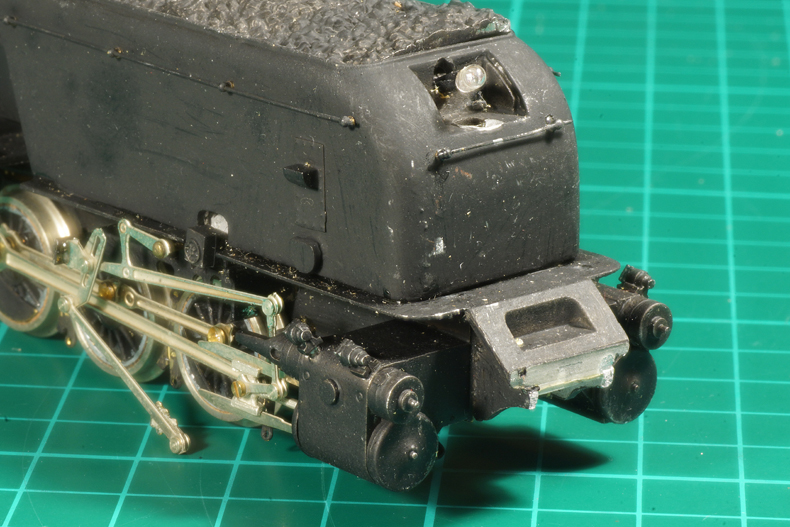
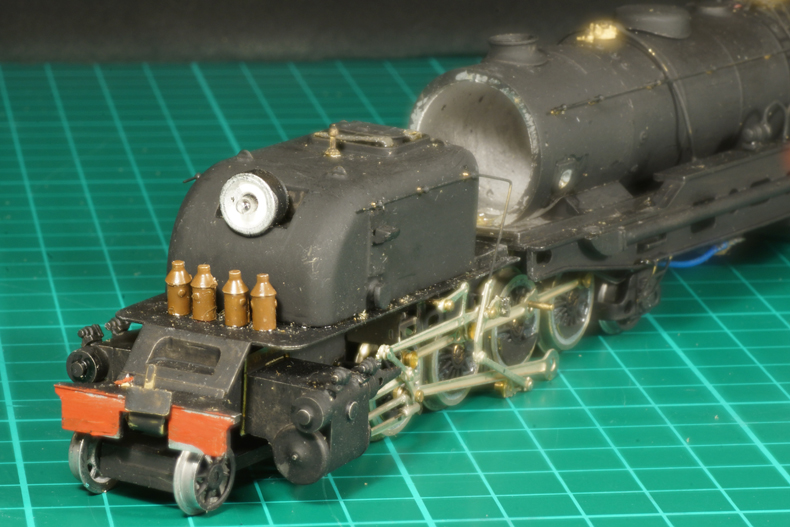
On the front tank the ugly headlight was still in place, but it would soon find its fate in the bin.

The front skirt cum buffer beam (but SAR locomotives did not have buffers, so wa do ya callem?) has broken off, but it is among the flurry of loose parts.

Taking a look underneath. Where builders tend to do their best on the superstructure the underside usually reveals the true scale of proficiency.

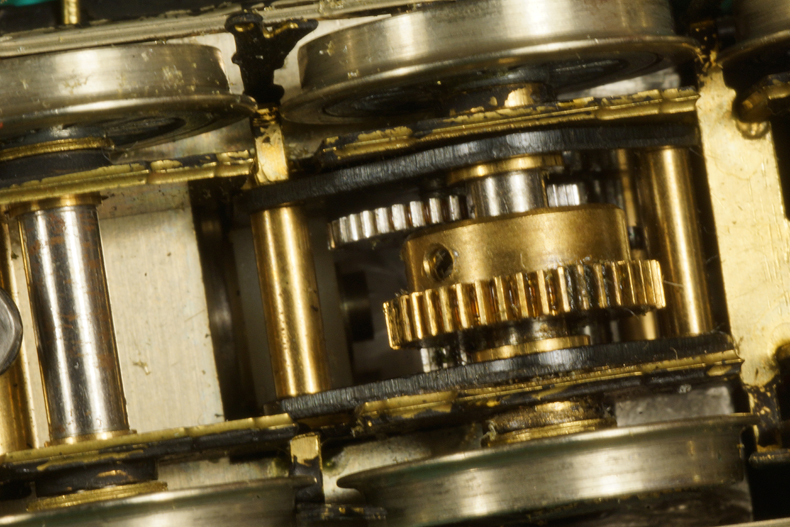
An absolute bonus is that this model sports a Portescap motor and gearbox. By the looks of it it seems to have been run, but then again I can hardly imagine this loco ever ran well. Note the cusps on the etched frame plates. A clear sign of a inexperienced builder.

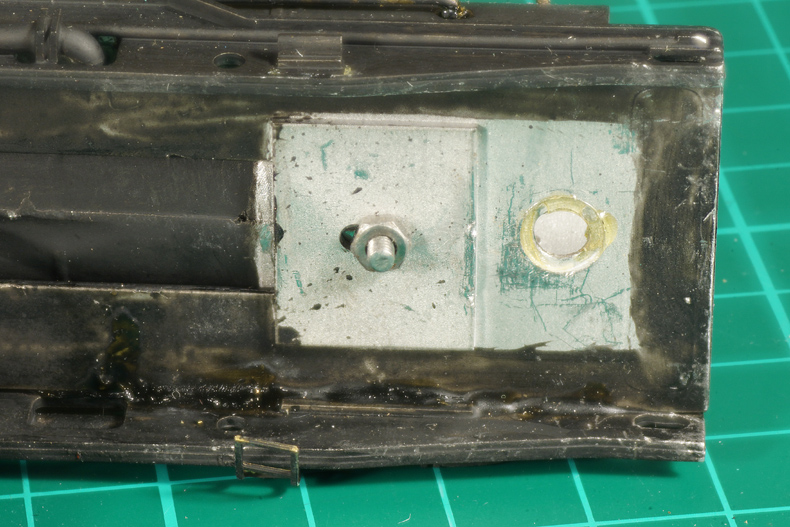
And there is the ultimate proof: the frames have been glued as well. So my final verdict is that this loco will need to be completely disassembled. If a builder does not trust himself to solder the frames, I do not trust him to build the frames square and true.

The underside also reveals the poor quality of the paint job.

As do the wheel rims

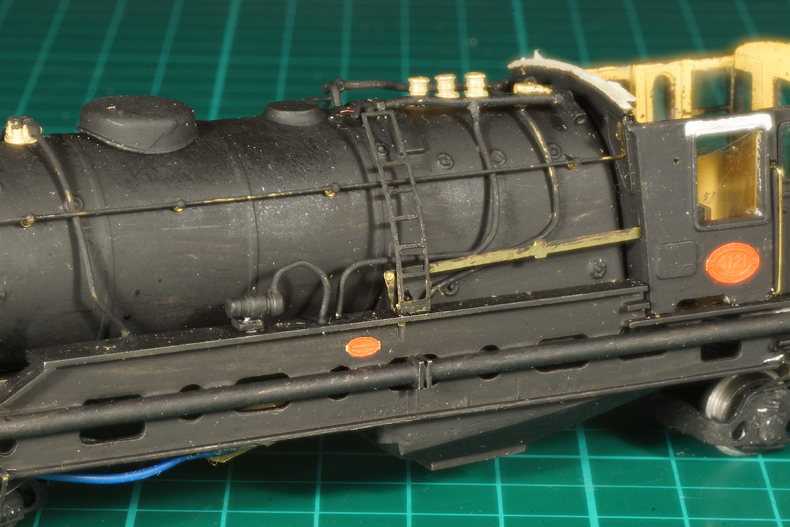
The number plate was painted red, but not sanded to reveal the brass lettering. Note that not even the etch notch at the right hand side has been file round.

Well, the glue was not strong enough to hold the front unit attached to the boiler cradle. By the looks of it several repair attempts have been made.

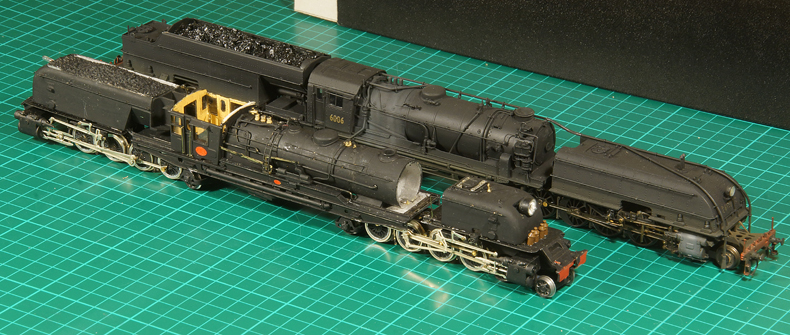
Comparison to the NSWGR AD60

I could not resist taking my AD60 out of its display and make a comparison in size.

Click on the photo to enlarge

Trial disassembly of the front unit

To get an impression on how much effort it was going to take to disassemble the loco, I cut the wires of the front unit and started taking it apart. This was meant to answer two questions:

  • What glue is used and how difficult is it to unglue it and clean it up?
  • Can I motorise the front unit?

Taking off the leading bogie. Easy.

Then separating the superstructure from the frames. This takes two nuts to undo but again not really a problem.

The loose parts were carefully stored in bags and correspondingly labelled.

Now to the superstructure: will it "unloosen"? (thanks Joe!)

A bath in thinner to remove the paint and then in acetone to try if the bond of the glue would budge.

After an hour

After a night

So yes, this loco was built with superglue, which I already suspected. Inexperienced builders nearly always use superglue. That is good news as superglue dissolves in acetone and this makes disassembly much easier. The bad news was that the paint could not be removed completely with thinner. A patchy remainder stubbornly clung to the white metal as you can clearly see in the pictures above.


So I went to work with a blunted knife blade and a glass fibre pencil to get the remainder off.

This proved to be extremely tedious. It also removed metal, something the rather smooth tank surface could do with but which I want to avoid where any kind of riveted detail can be found. So I quickly reverted to braking fluid which did a better though not perfect job on the footplate and pilot. Once I get to stripping the rear bunker I will try paint stripper. I will get back to the results later in the project.

The by and large clean parts of the front units superstructure.


The frames in detail

Quote from self:


If a builder does not trust himself to solder the frames,

I do not trust him to build the frames square and true.


On a closer inspection of the frames I was proven right


From the right hand side the frame plates obviously do not line up

On the left hand side the same issue is evident. Moreover the cilinder has a clear foward slope.

Seen from the front nothing seems straight.

  • The frame plates are not parallel and square in the vertical plane.
  • The frame spacer slants and is not even solidly attached to the left frame plate (right hand side for the viewers).
  • The cylinders are drooping and on different heights
During the disassembly I found evidence that the loco has suffered a big bump: the front coupler was all folded together. So maybe this damage does not originate from the builder's ability to build this loco square and true. But then again it does not matter too much for me. Either way I have to take the frames apart and rebuild the entire loco.

A few concluding remarks.

  • A full disassembly and complete rebuild of this loco is inevitable.
  • Disassembly proved to be relatively easy.
  • Cleaning all components was the majority of the job. I spent a good two hours cleaning. I intermittently changed to other jobs. had a bit of music on the background, even a bible lecture at some point and that made the job bearable even to the point of enjoyable when I realised what potential for beauty this grubby kit has..
  • I could not get the knobs off the hand rails. I may have to replace them. Not really a problem as have a lot in stock.
  • The original head lights are not there so I may have acquire them from DJH (if they still do any spares) or make them myself.
  • The bank with resistors was in the body of the tank and the leads went to the light bulb. I will keep them, they may come in handy at some point in time.