Garrattfan's Modelrailroading Pages
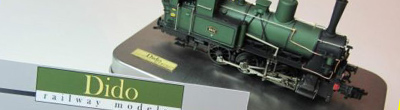
NS 8600 class
Superstructure: cab, boiler and smokebox

In other projects I used to describe the building of the locomotive's superstructure in two separate subjects:
With this kit the first part is greatly simplified because the bulk of the superstructure is supplied in three resin cast parts which will not assembled until after painting. So this I took a different appraoch. Again I have divided the description in two subjects
The running board and the detailing of the resin parts are more or less built in parallel.
|
|
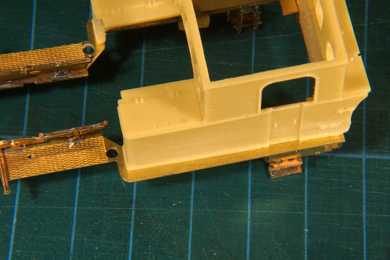 |
Once the running board is more or less complete, the driver's cab is made to fit. A little scraping was necessary, but it fitted well. |
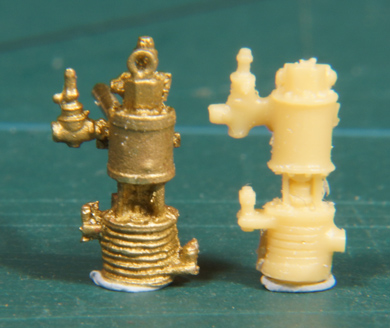
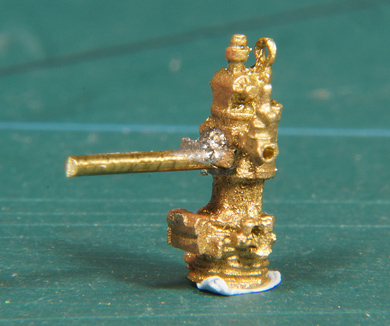
The kit includes an air pump. Although not but bad I have a Philotrain cast brass part which is far superior. This brass version depicts a double stepped air pump so I sawed of the second step to mimic the simple air pump of the 8600. |
I then drilled a 1.0 mm hole in the back and soldered a 1.0 mm brass rod in place. I also drilled three 0.5 mm hole for the pipes.
|
I drilled a corresponding hole in the smokebox |
to take up the air pump |
 |
Like so.
A bit of epoxy secured the pump. |
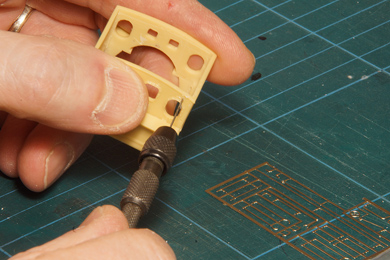 |
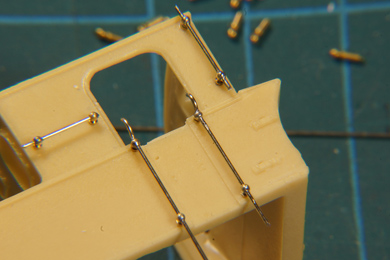
Then I turned my attention to the handrails on the driver's cab. First all holes were drilled. Again I did not use the handrails supplied with the kit (right on the photo). They are etched and consequently square and I did not like the appearance of them. I will use Markits handrail knobs and nickel silver wire. Consequently the holes should be drilled to 0.8 mm (the size of the base of the Markits handrail knobs) |
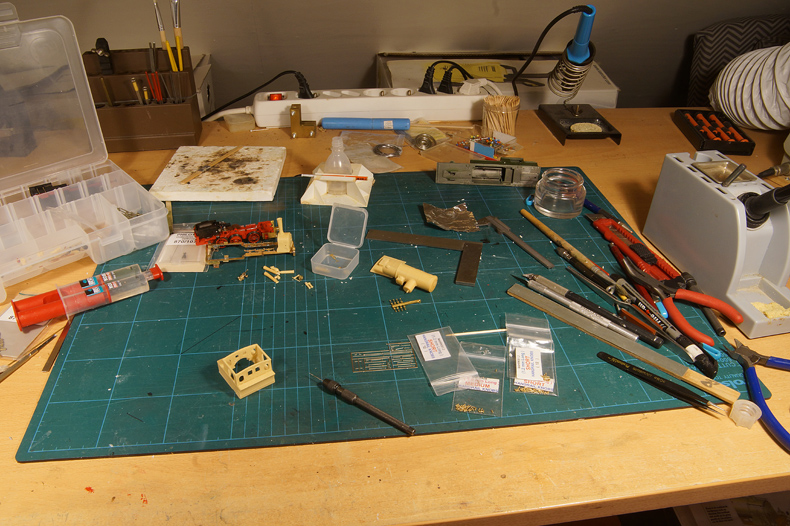
By the way: who thinks from the photos that my workbench is almost empty, think again! |
|
 |
The Markits handrail knobs come in different lengths and I keep an ample supply of every length.
|
 |
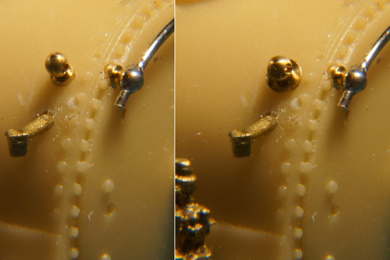 |
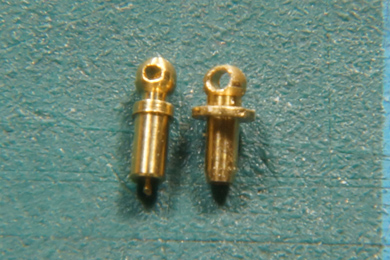
| While probing for the correct length of the knobs on the driver's cab I found I had two different sizes under the same item number. Left is the type I already had and right is the one from a batch I received in January. The flange is thinner but also much wider and that results in a totally different appearance of the knob as can be seen from the photos. I wrote to Markits about that and got a swift resupply from the old stock. I can only hope they will change the design to a narrower flange. Service and response from Markits was most commendable though. | |
 |
Using up my remaining old stock I continued working on the driver's cab. I tested the resin if it could resist a soldering iron of 200C. It could so I could solder the knobs to the wire without any harm to the resin cab. |
 |
 |
| The grab iron on top of the tank was again made with handrail bending jig. A scrap of 0.4 mm styrene sheet was used to keep it in distance while the epoxy glue set. | |
 |
 |
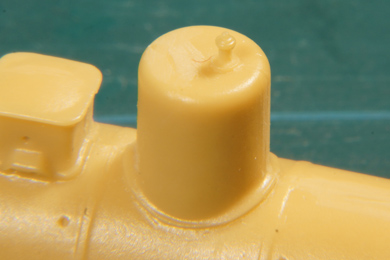
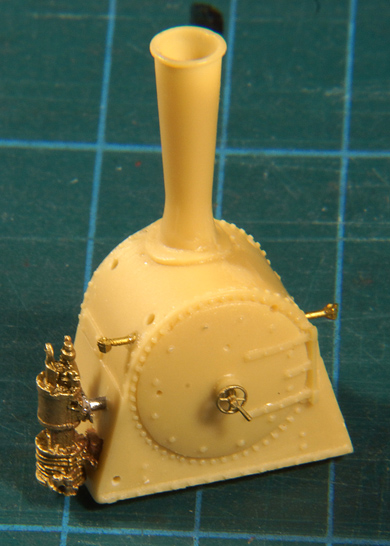
| The whistle on top of the dome was cut off and replaced by a brass equivalent (stored until after painting) | |
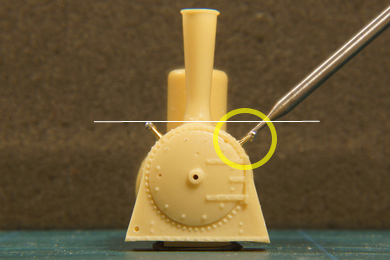 |
Curiously the handrails on the left side of the loco (right on this photos) are distinctly lower than on the right side. I delved into that but I could find no evidence that is was neither right nor wrong so I left it as suggested by the kit. Note that I used long handrail knobs (3.0 mm) for the handrails on the boiler. The photos clearly show that. |
 |
The resin bell is replaced by a brass example, again stored until after painting. |
 |
Sandpipes are added. The one running the water tanks is secured in an extra hole in order to avoid gluing in a visible place.
That is another setback of gluing. If you have to glue in a visible place there is always a ugly blob in view where with soldering you can model it with scrapers in such a way that it is inconspicuous.
Later I had to change this arrangement a little because it entrefered with the frame. |
 |
Now the body is brought together for the first time to see if everything goes together well. I will not join them now as I will follow the advice of the manual to keep the loco in four main parts for painting
It will save hugely on the masking effort |
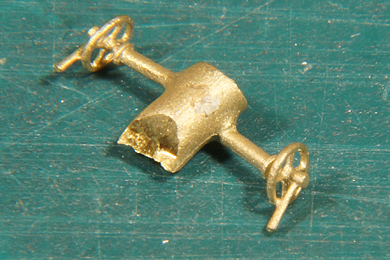
I didn't like the handwheel supplied with the kit so I replaced it by a corresponding Philotrain part of cast brass.
I also replaced the lamp irons by exmaples from Philotrain ==> |
 |
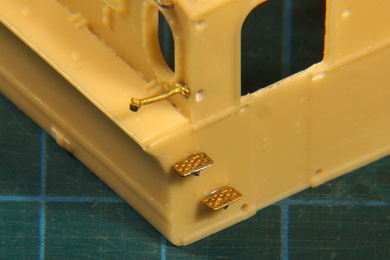 |
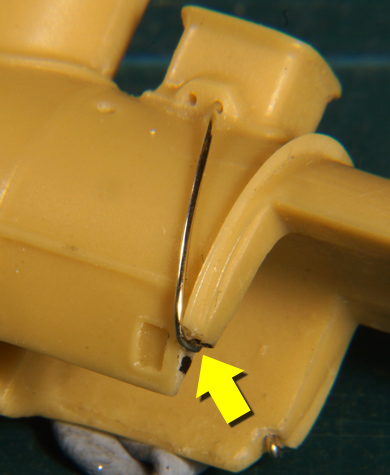
Steps are added. I must have lost two somehow because I could not find all four. Luckily I had two spares in my leftovers box.
The soft brass induced me to snip off the etched spigot. I soldered a short end of 0.5 mm nickel silver wire under it, which makes it much sturdier. Just must take into account however that the wire sits a little lower than the original spigot. |
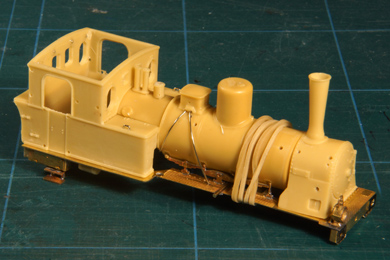
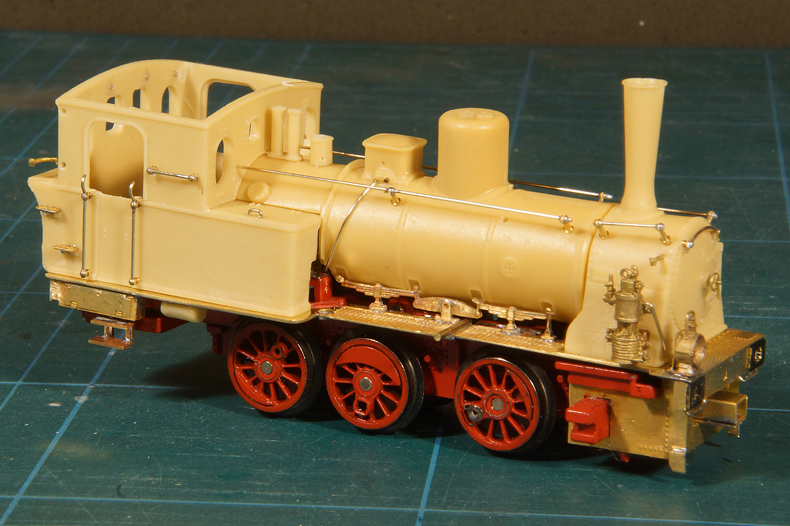
By now (4 March 2018) the loco his progressed to this stage. Considering I started only two weeks ago, progress is satisfying. The right front wheel is damaged and is on order in Germany. Meanwhile I found some parts to replace by brass cast parts which I did not have in store, so I ordered them at Philotrain (delivered in three days)
|
|
 |
Looking at the results so far and the instructions I realised that the loco did not have a handrail on the driver's (right hand) side as I had made it. Photos of the prototype show a handrail in its early years but a photo from the 1930s shows it has been replaced with some sort of control pipe which leads to the later added air pump. So out came the parts from Philotrain which als contain a pipe angle. |
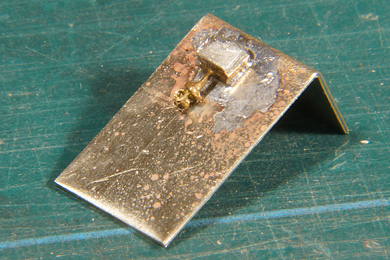 |
I snipped a suitable one out, but took care to leave it on its sprue,with which I soldered it onto a scrap of sheet metal, so I could easily handle it and drill it on my drill stand. After drilling I simply snipped it loose. |
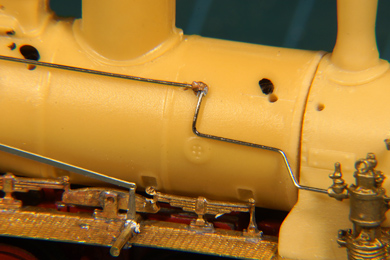 |
And before long it sat on the boiler soldered to nickel silver wire leading to the cab. A pipe leading form the angle to the pump was duly bent to fit. The removed handrail left three holes in the boiler which I will fill later before painting commences.The pipes will be permanently fixed after painting |
| This basically the build. Yes, there chores remaining, always, in every project. But for that a draw up a list and essentially abandon the manual and start working towards the conclusion of the project: the project's finishing stage. | |


Sign my
GuestBook