Garrattfan's Modelrailroading Pages
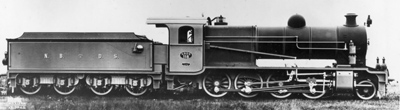
NBDS 118-119
Preparation of the chassis

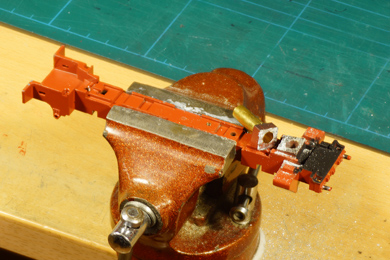 |
Cutting the frame is a nerve wrecking task. Doing it wrong and you have to buy another donor loco. But on the other hand, it is not overly difficult. You can try to saw it in three near accurate cuts and file the remainder. I have no good experience with accurate metal sawing. The saw always goes astray. So I opted to saw roughly and oversize and mill the rest.
It all starts with the vertical container for the smoke unit |
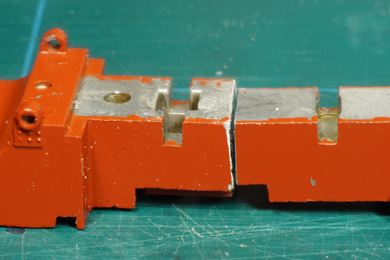
The rear end is cut after the narrowing between the fourth and the fifth axle. The front is cut through the bolt holes that are visible in the underside. |
|
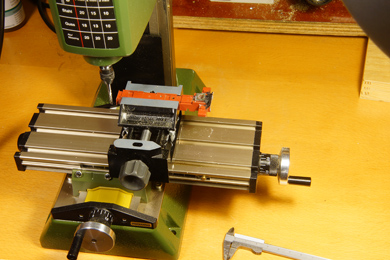 |
The rough cut are milled the desired size. |
 |
 |
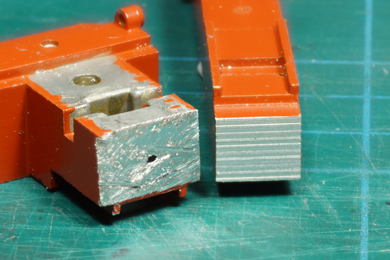
| See the difference in smoothness and squareness | |
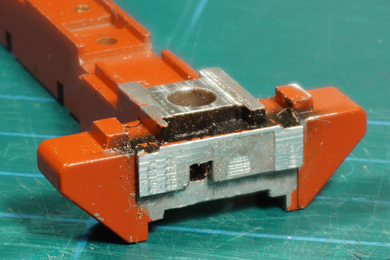 |
The front was milled back to 1.5 mm before the cylinder block. The top was milled flush |
 |
The brake rigging is cut directly before the first brake. I did that by cutting on both sides with a sharp knife, breaking the plate and file it. The BR57 had the first axle unbraked. So do NOT cut the rear end as you might expect!
|
 |
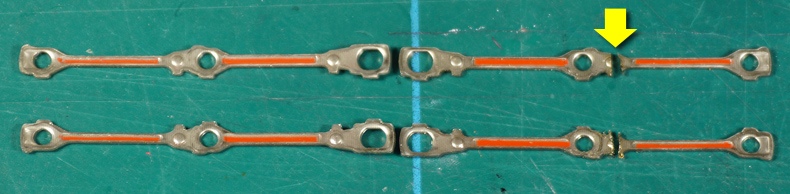
The whole brake rigging will move one axle forward to provide brakes on all axles. Therefore a new hole must be drilled 17.5 mm away from the original hole. |
Cutting the rear end of the coupling rods needs some careful consideration. You have four parts. Only two of them are the rear end. Lay them out and carefully, study photos of the loco before disassembly. Also keep in mind that the coupling rods are handed. The gap shows the cut I already made. The rods are very hard so made sure your cutter can handle steel. I cut them with my Proxxon table saw, on which I installed a metal saw. |
|
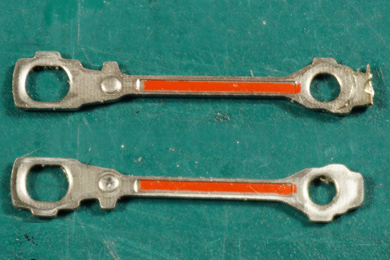 |
Cut over the simulated grease nipple (top). The result will be a bit too long so carefully file it back to the desired shape and then sand it (bottom). |
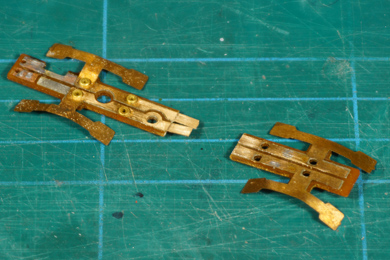 |
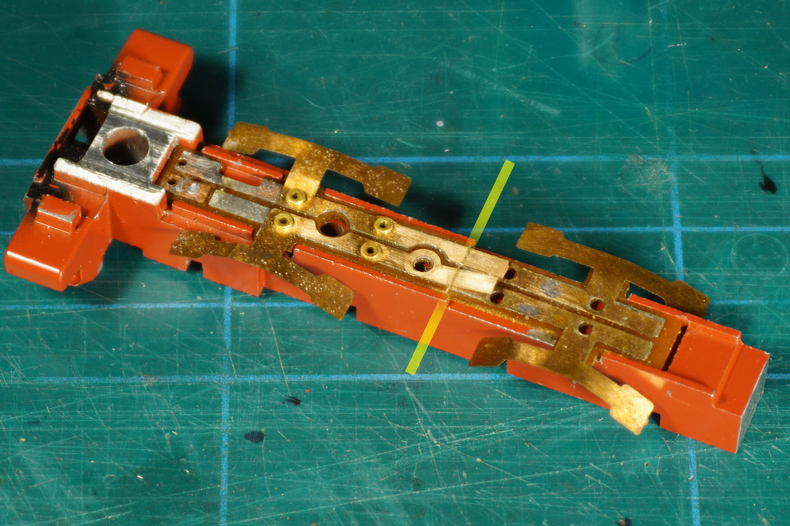
The instruction says to cut the rear wiper of circuit board. That leaves current collection on three axles. Instead I opted to cut out 17.5 mm from the middle of circuit board. I kept a little overlap in the copper strips so when I reinstall both parts on the frame I can eclectically connect them with a bit of soldering. Doing so I have current collection on all four axles. |
I accidentally filed away the rivets in the rear part. I glued the copper strips back in place with epoxy. If you would leave the rivets in place, you would have to mill out a few millimeters of the frame below them to prevent shorts. |
|
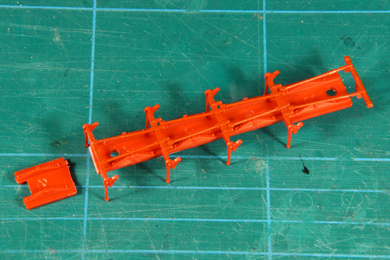
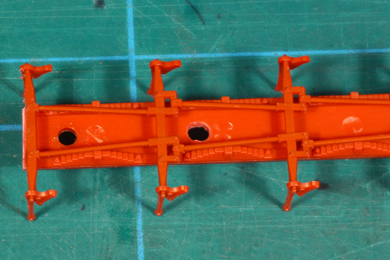
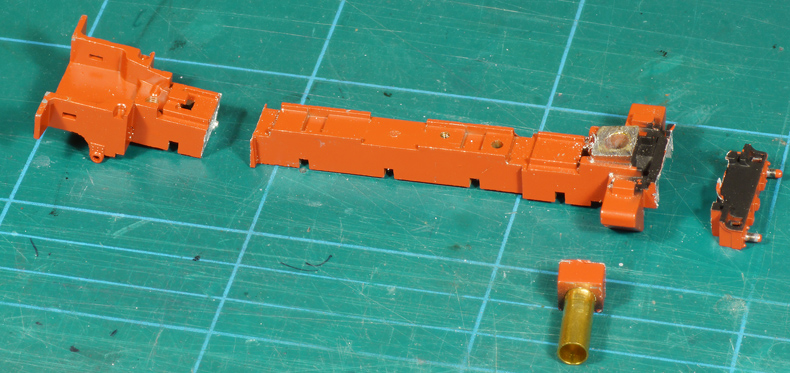
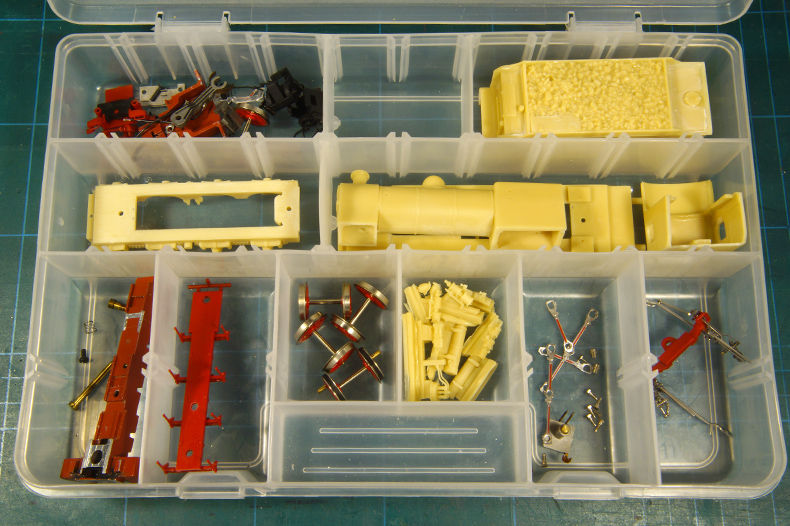
By now I have a nice box of goodies. Left top is a compartment with all discarded parts. Keep them until loco is finished. You never know! Bottom row:
This concludes preparation of the frame. At last it is time to start building up again! |
|

Sign my
GuestBook