Garrattfan's Modelrailroading Pages
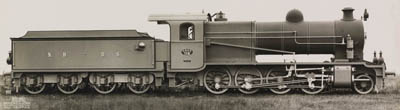
NBDS 118-119
Evaluation

It may seem odd to start a project with its evaluation. Of course I wrote the paragraphs below during and after the project. But I put it in the first place for any one desiring to follow this build as well. It is better to know in advance what you are in for, where the pitfalls are and where things can be done differently.
This page will grow over time as the project progresses
General
Personally I prefer all brass or even nickelsilver kits. But sometimes a model is only available as a mixed media kit. In general the resin parts of the NBDS 118-119 are neatly cast with relatively little flash and moulding pips. Above all the kit is reasonably accurate. Parts generally go together well with a few notable exceptions which are described in the project's pages.
The mixed media kits like this one are often relatively cheap. All brass kits often come at a price and this is often an obstacle for beginners to enter the realm of kitbuilding. Being a kit based on an existing Roco chassis it certainly avoids building the valve gear and it makes easy work of the drive. It is pretty counter-intuitive though to buy a perfectly good Roco model and throw away most of it. You only need the frame, the valve gear, the wheels of the loco and the gears from the tender drive. Buying these as spares from Roco is an expensive thing though, so yes you will have to sacrifice a good working loco. The setback of using the Roco model is that is has this ugly and obtrusive joggle in the connecting rod common among mass produced models.
Level of the kit
Is it for the beginner modeller? Yes, I would think so but sawing and hacking away in the frame may not be everybody's cup of tea.
Resin
Having worked with resin kits before and having completed this project I can share some experiences here.
Pro:
- It is cheaper.
- Its is pretty easy to process. Drilling, milling, filing, scraping, it is all very easy. A simple hobby knife can work wonders to adapt the castings.
- It can be made soft in boiling water and then bent to shape. Then it can be stiffened again by cooling in cold water.
- It is relatively fast building with the large components. The boiler of this kit is one part, where the boiler of my 6200 consisted of eight parts which all needed filing, bending, fitting, soldering, cleaning.
- It is easier for the novice builder, assuming everyone knows how to glue. Brass has a steeper learning curve.
Con:
- Resin is simply not a very accurate material. The castings are simply not as flat and precise as we are used from brass kits or if you want a more comparable process, good white metal castings. The photo below clearly shows the unevenness of the tender side under the lighting for the photos.
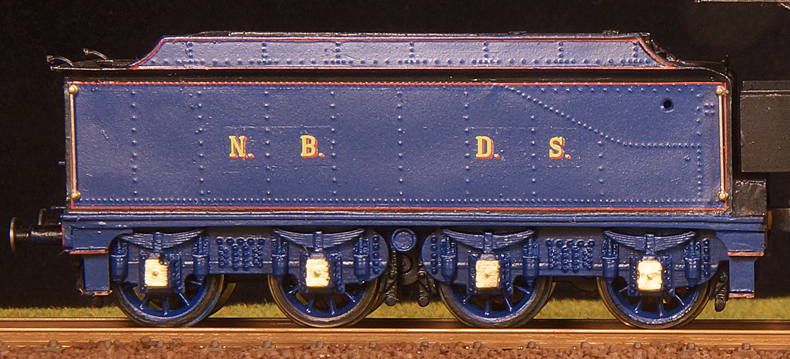
The wobbly sides of a resin cast tender clearly visible under a certain lighting.
- The kit has quite a few voids and crevices left open in the resin casting. These need to be filled and carefully sanded.
- Details are often lost. The rivets on the resin castings are not crisp.
- There is a lot of work at the start of the project to remove all casting channels and blocks etc. The manual clearly points out which parts to remove. It is not difficult. Just be prepared to spend a few hours freeing up the castings from all unwanted attachments.
- Breakage is a serious risk. Resin is brittle. So handle it carefully. Scraping and filing is preferable over cutting and sawing.
- Resin is thick and it shows. The running board is 1,2 mm thick where brass would commonly have been 0.4-0.5 mm. The same applies to the driver's cab. The 8600 I built was also a mixed media kit but it contained a commendably thin laminated brass running board, which is visually the better option.
- Resin is terribly messy and dusty. When machine worked the resin generates a cloud of small particles which gets airborne. As it is a plastic it is static so it tends to stick to just about everything. Wear respiratory protection!
Points of criticism
Very little actually. The kit is generally very complete and covers many different versions. And looking at room for improvement one should always bear in mind that this is a mixed media kit that is not aimed for high-end market. So suggestions for improvement can only be realistic if they can be achieved without too much effort.
Yet there are some points to consider:
|
 |
|
|
|
|
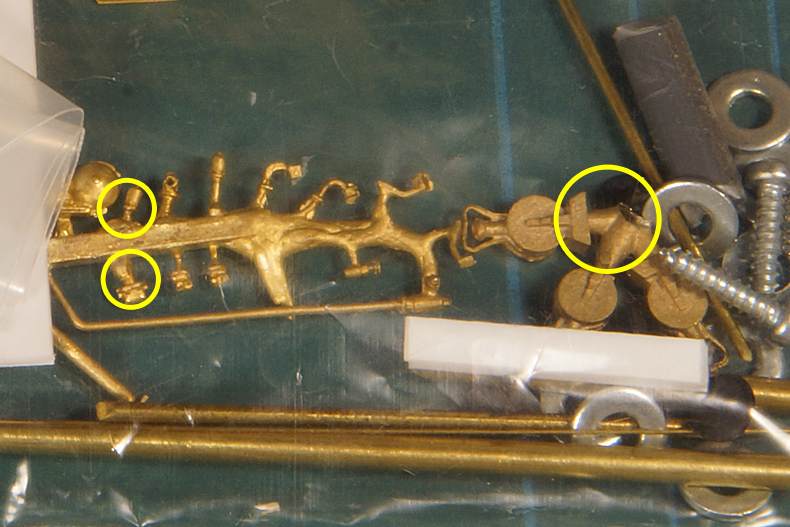
Tips and tricksLocomotive
|
|
 |
 |
Tender
|
|

Sign my
GuestBook