Garrattfan's Modelrailroading Pages

SHM 26
Painting and lining
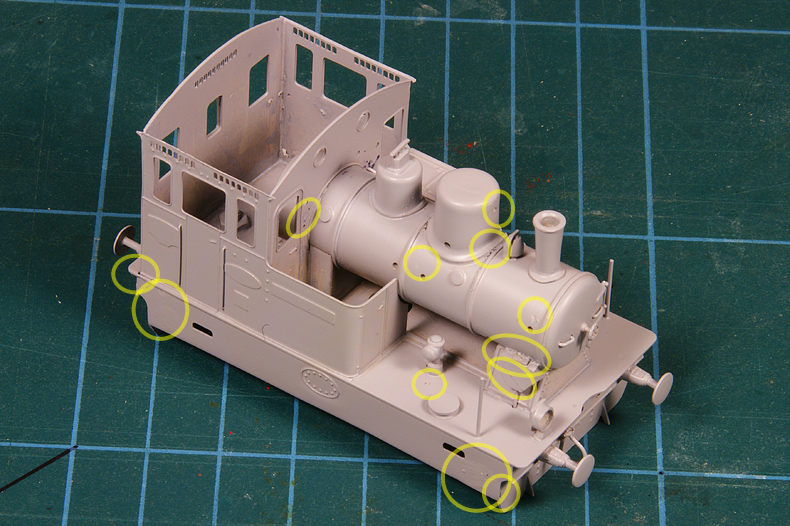
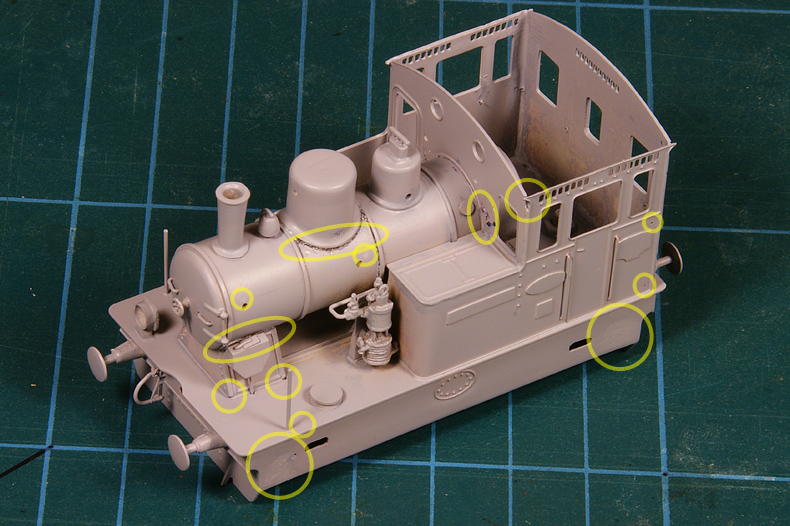
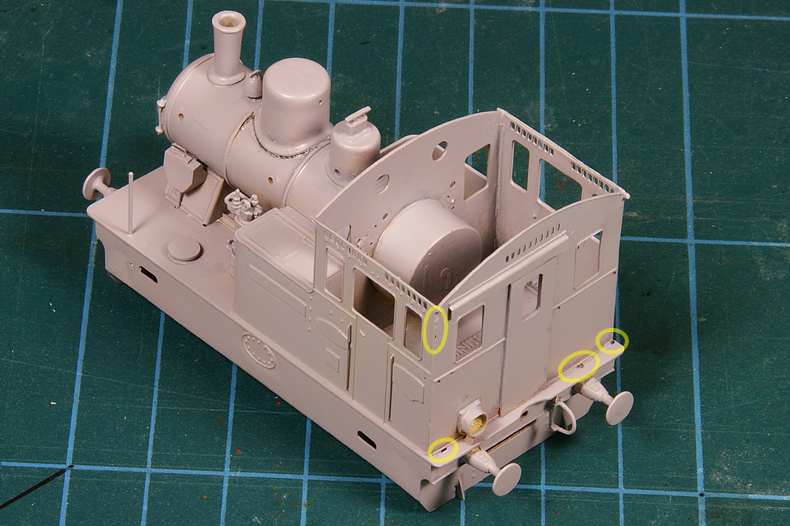
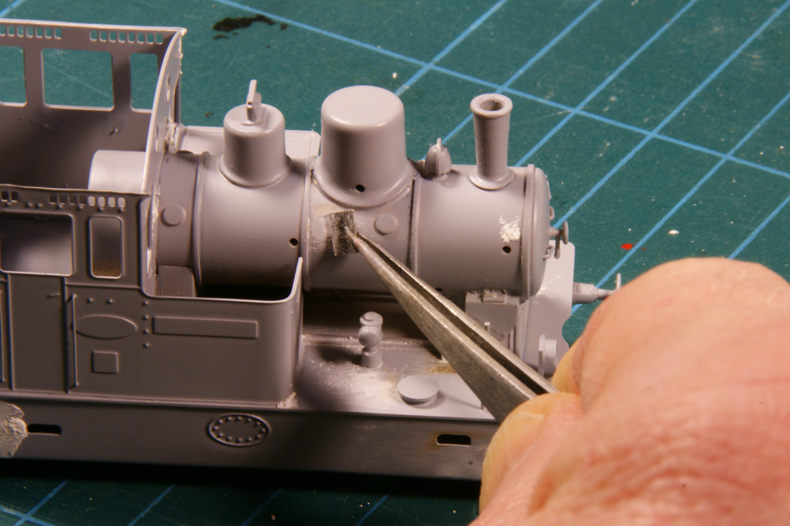
The first step in the painting is always the first layer of base coat. Usually this is putting all your hard work to the test. The model in brass may seem next to perfect but the base coat will show you mercilessly what you have missed. Well, I didn't come away easily. The verdict of the base coat was extremely harsh this time. I found no less than 29 points of rework! Holes I didn't fill, holes I didn't smooth enough, a pearl string of glue I missed, excessive glue in a joint I left, joints I didn't completely fill, the base coat showed it all. It may not always show up on the photos, but believe me, the flaws are really there.
So I had to fill all little dents and sand carefully. I used a new type of filler, used for cars. It worked perfectly well, just one component, dried quickly and was relatively easy to sand. Tedious work. Then I removed the first base coat with thinner and guess what? The filler dissolved in the thinner. So I could start all over again. Stamina and perseverance are paramount in this hobby.
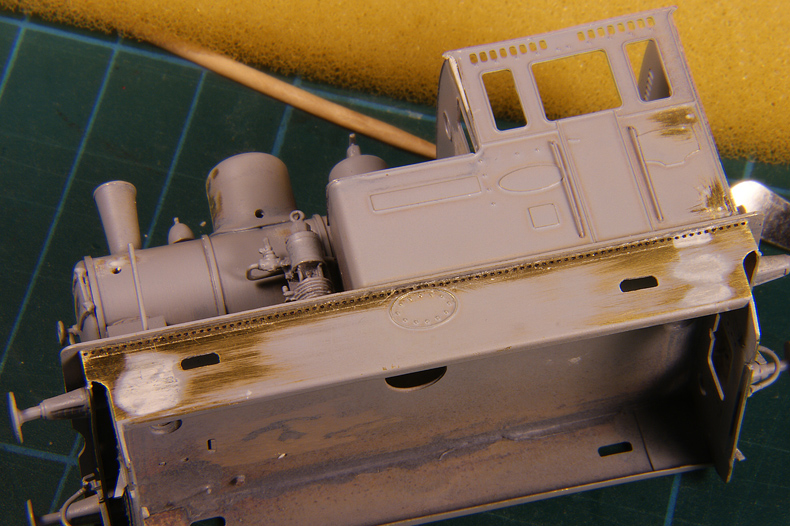
Having forgotten this the first two times I also grabbed the opportunity to add rivet detail before my third attempt.
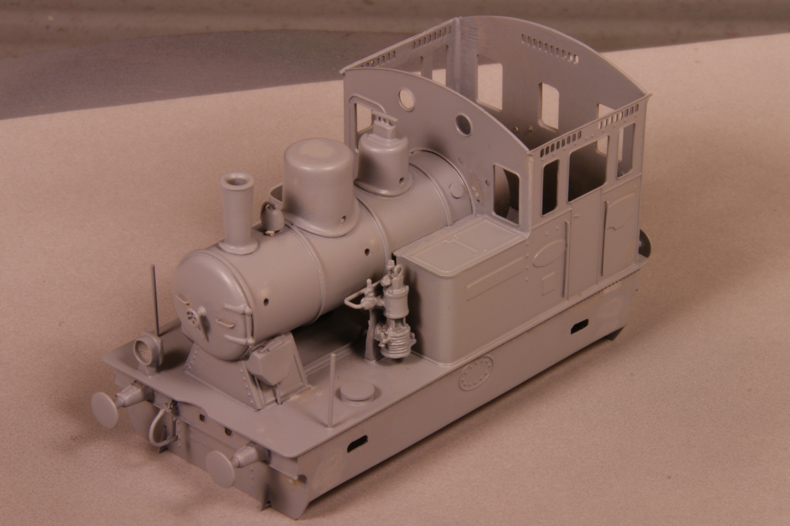
Then I put up my spray booth and gave the SHM26 its third and final base coat. It took a while but the result is next to perfect.
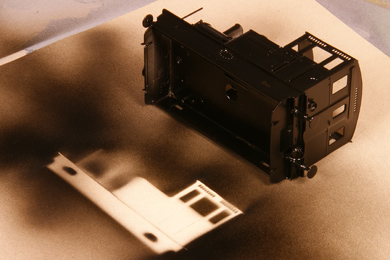
Nice effect as a result of painting the locomotive on its side. |
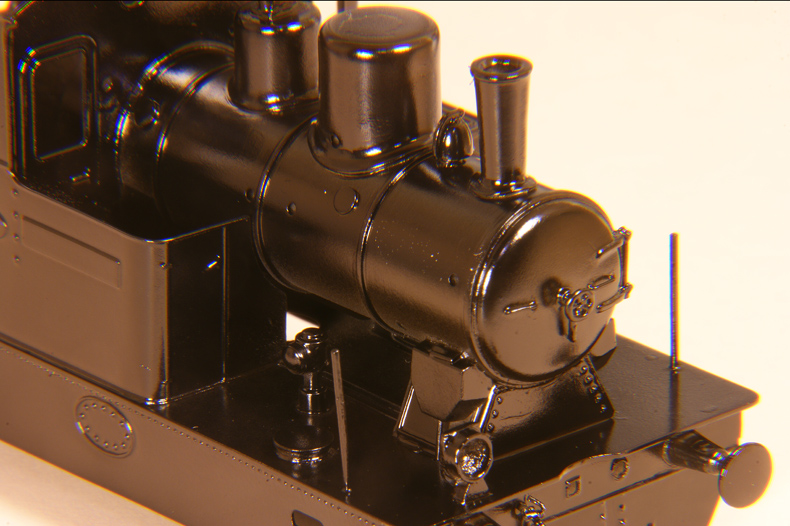
From here I completely finished the locomotive in black. It was stunningly beautiful in its black guise.
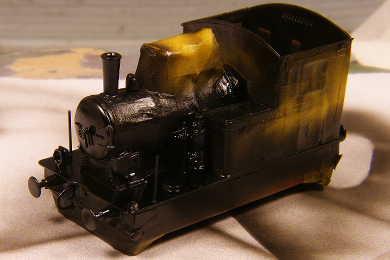
The inside of the chimney had however not received enough paint. Not wanting to risk the new coat, I took a dropper and attempted to let a drop of paint flow into the chimney. It fell off the dropper's tip prematurely and splattered all over the locomotive completely destroying all the hard work. After some politically less correct expressions I gave it a wash with thinner and started all over again! Even the rivet detail below the footplate needed to be done again.
Again: modelling is all about stamina and perseverance. (Sigh!) |
 |
But two days later a next attempt gave this result |
This photo should convince you of the silky smoothness of the black paint. Look at the exquisite row of rivets below the footplate on the side!
I used Philotrain paint, available via Phildie. This paint outclasses by far anything I have used so far. It is cellulose paint based on thinner so make sure you have a good spray booth to expel all the dangerous fumes. Not good for the environment but oh boy what a result. The paint seems hard on your budget, €11 on a small 125 ml tin is something to consider, but let's do some math. It means the price is €88 per litre. Now take Revell with its famous 13 ml tins. Selling for just €1.95 they may seem cheap, but doing the same math reveals Revell coming at a stunning €150 per litre! And then consider the superiority of the Philotrain range. There's more to advocate Philotrain's paint range. The paint can be seriously diluted. I used a paint : thinner mixture of appr. 1 : 2. The paint is also indefinitely preservable. If it dries out simply add thinner and it will dissolve again. Just mix and stir very well.
|
|
|
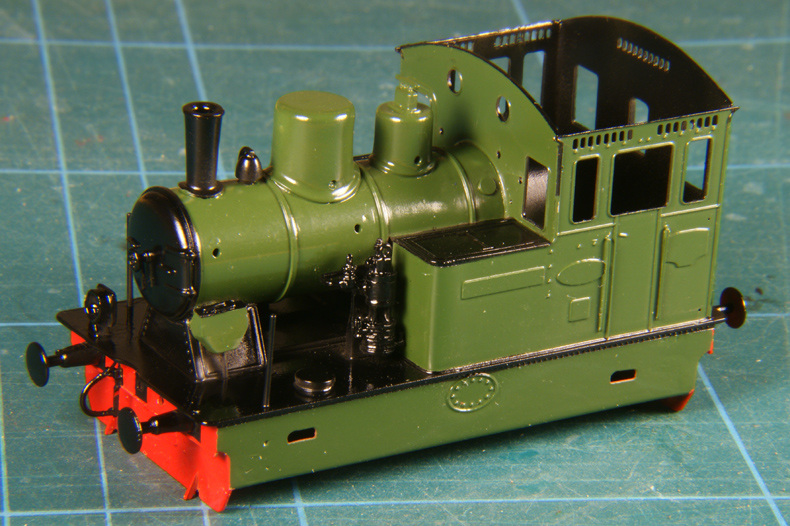
Unfortunately the happiness over the black coat was short-lived. When I started masking I soon found the same discovery as with the NS6200: If you spray black first you have a lot of difficult masking to do. It is far easier to spray green first and then mask for black. After two attempts I gave up masking black. I gave it a wash with thinner and gave the loco a new base coat and a green coat. |
|
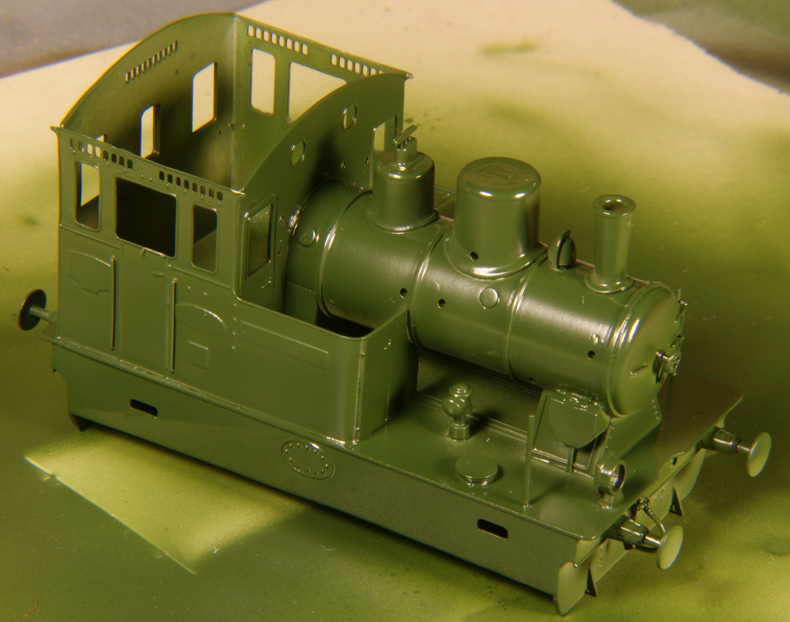 |
|
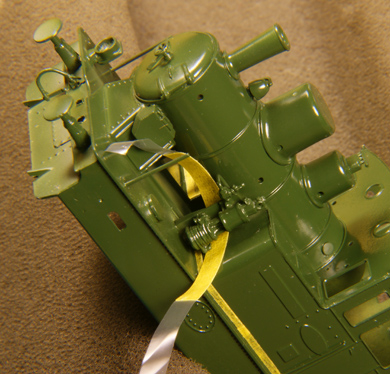 |
Immediatley at the start of the masking process I ran into a ticklish problem. How to get the masking tape behind the airpump on the bunker front without getting it stuck everywhere but where I wanted it. I stuck a strip of masking tapen on a thin sheet of plastic (from a sandwich bag) and cut both plastic and masking tape to size. I then wriggled it behind the airpump without difficulty and carefully peeled off the plastic and positioned the masking tape with ease. |
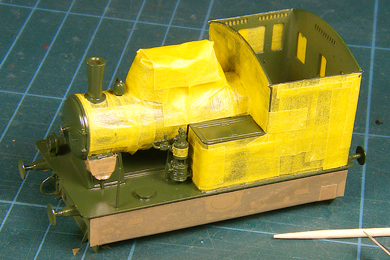 |
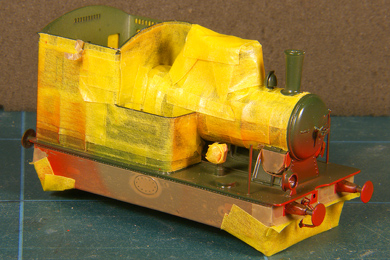
All masking done. Hours of work go into this and there seems to be no silver bullet to do it any faster. |
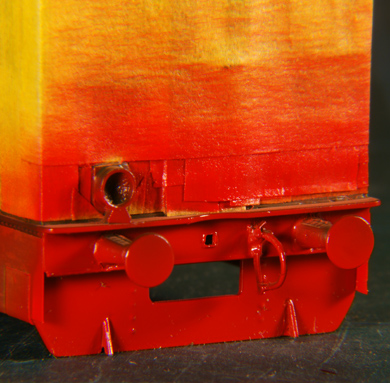
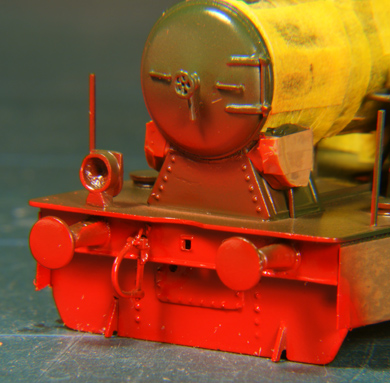
The first paint job is the red of the buffer beams
|
 |
Once dry a little further masking must be done... |
...but then at last the black goes on. Now (s)pray all is well.
|
Yes!! It's OK. Some minor issues, but nothing that can't be solved |
|
| Next job is lining. I have described the basics of lining while building my MDC Roundhouse Shay. There is also an extra page especially on the subject of lettering. That being said, I had to make my own decals to fit the windows of the SHM26. | |
 |
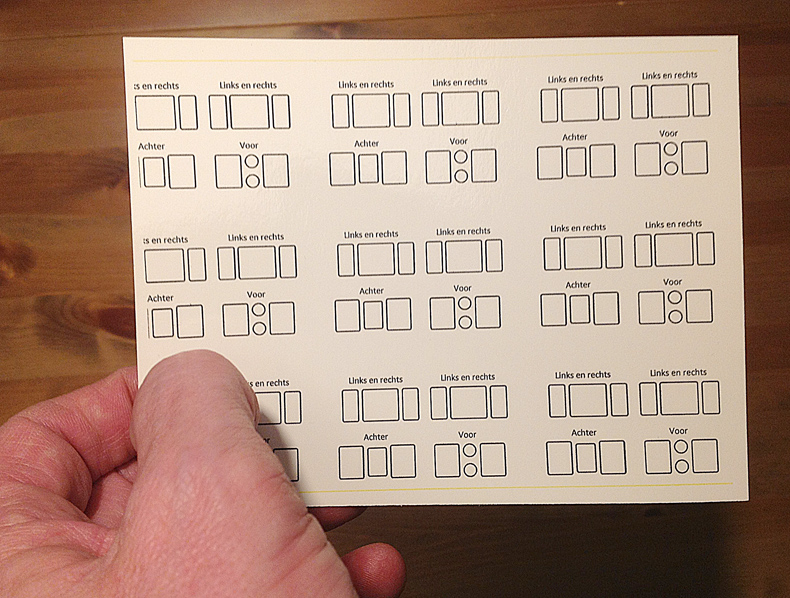
I photographed the model with four head-on views, imported the photos in imaging software and drew the lines needed over the photo. I isolated the lines and printed them on paper to test if the sizes and line thickness were good.
You may note that all windows are oversized horizontally. Based on earlier experience I knew that applying a square decal in one piece would be difficult. So I decided to cut it vertically and apply it in two separate pieces. To create some overlap I oversized the horizontals.
Once satisfied I multiplied the design as much as would fit in one decal sheet (10 x 15 cm, say 4 x 6 in). Experience has taught me to have a surplus of prints as inevitably I will waste a few. |
 |
Next was printing the design. I made a few trial prints first on glossy photo paper to see if the printer would behave. Again when satisfied I inserted a blank decal sheet into the printer and went for it.
I sealed the printed decalwith a good spray of clear coat. |
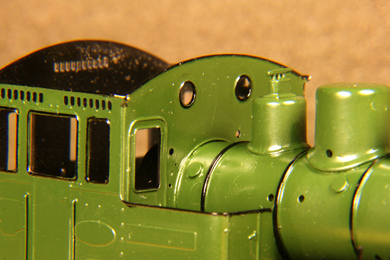 |
The windows where decalled with my own custom decals. Straight lines and boiler bands where done with stock Microscale material |
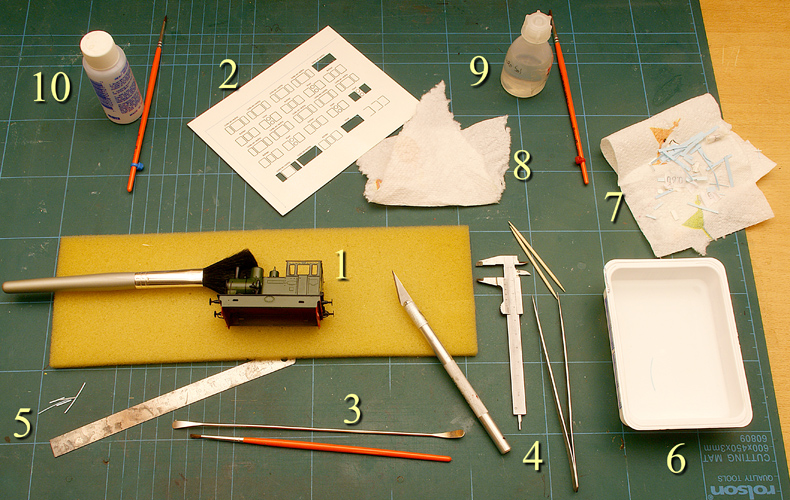
I work systematically. If I do not I'll mix up things, make mistakes and get irritated. So for my own peace of mind and consequently for a better result I keep things well organised. If things get out of place too much I take the time to reorganise. Below is a photo with my standard arrangement. Remember I am right handed. Left handed persons may prefer to mirror things. |
|
 |
|
|
|
 |
|
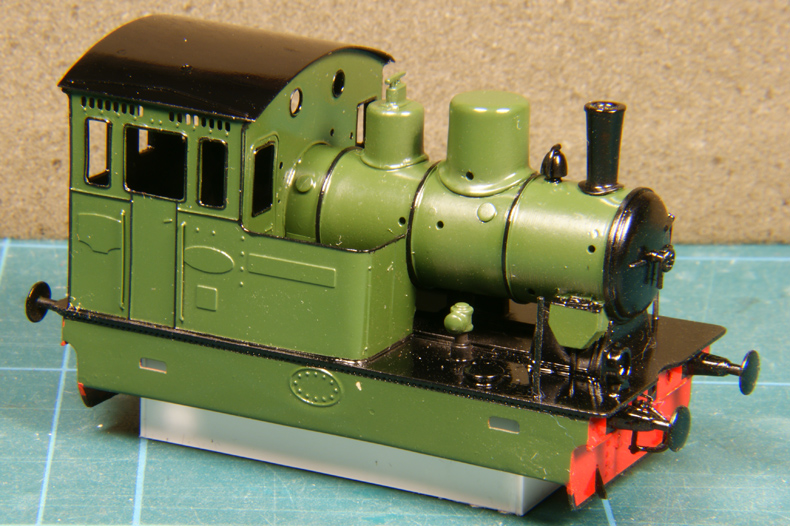
The lower rim of the frame skirts is beset with rivets and painted black. I tried to mimick that as close as possible.
|
|
 |
|
 |
|
| Well, after days of work on the lining the locomotive is at long last almost ready. Some minor work is left and then it needs to be coated. | |
I will be using ModelMaster's gloss coat. I don't remember ever having used it before and the hard lessons of airbrushing have taught me never to try something new on your precious recently finished paint and lining work. It is inviting disaster.
So I used the metal bottom of a US boxcar to try it out and truly I needed two attempts. I first coated with the coat diluted with white spirit. It was not really bad but I also missed the crispness I had expected and hoped for. I cleaned the boxcar's bottom in thinner and started over again. That is why I chose this bottom in the first place. It had sufficient detail to put the paints and coats to the test and it is made of metal and consequently insensitive to thinner. For the secons attempt I diluted the coat 1:1 with thinner. And it worked I got an nice even spray over the model and it settled well, giving nice crisp detail!
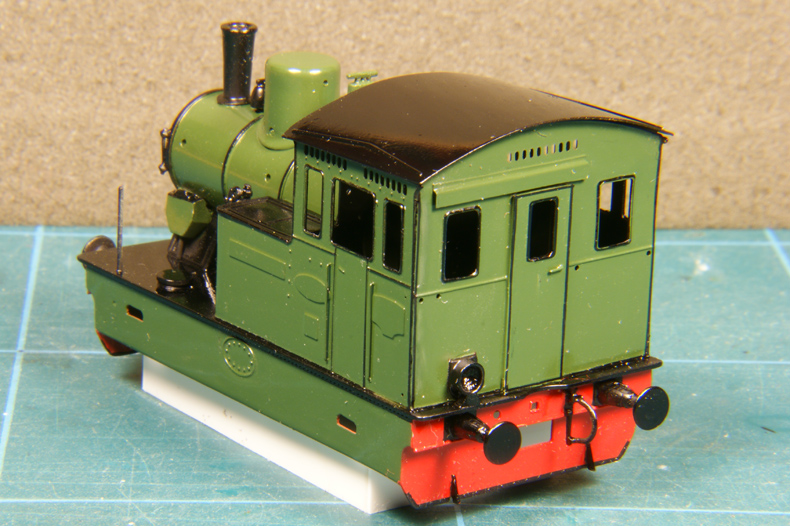
Next I took the jump and point the airbrush on the model. Alea Iacta Est [1]. It needs quiet but resolute yet accurate work to spray the gloss coat. Here all experience gained with and pains suffered from airbrushing kick in. Minutes later I had a stunning result. |
|
 |
|
 |
|
| This concludes the painting, well almost. Next I will assemble all parts that will have a metal appearance, be it brass or blackened, and then a final coat will be applied. | |


Sign my
GuestBook