Garrattfan's Modelrailroading Pages

SHM 26
Detailing - Working the (small) appliances
Detailing is essentially that: working on very small parts ;-) On this page you will find a plethora of small thing that need to be done, even on a small locomotive with so few appliances like this one.
I describe them in detail in the first place for myself, just as a kind of diary to remember what I did for following occasions. Secondly I hope to give you as a reader the advantage of picking up ideas.
This page describes
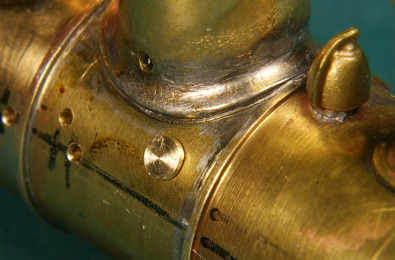
- The sandboxes
- The snifter valve
- The whistle
- The washing plugs
- The roof of the cab
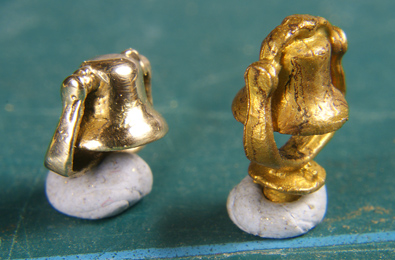
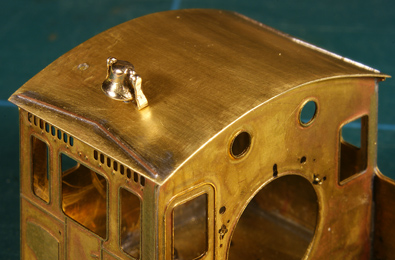
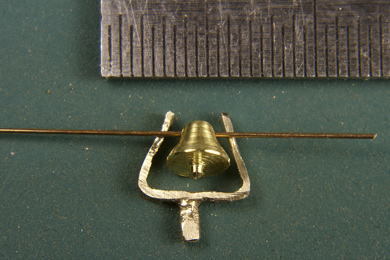
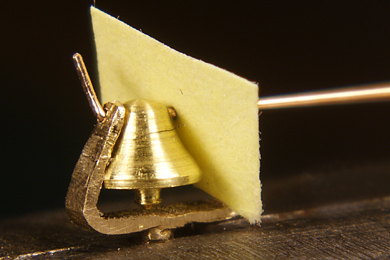
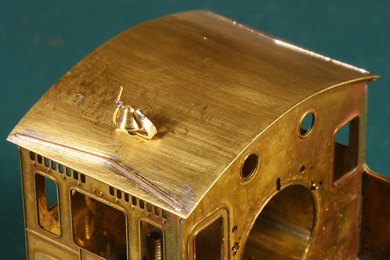
- The bell on the roof
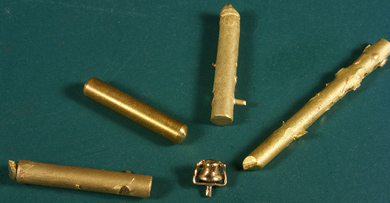
- The brake air pump
- The coal bunker hatch
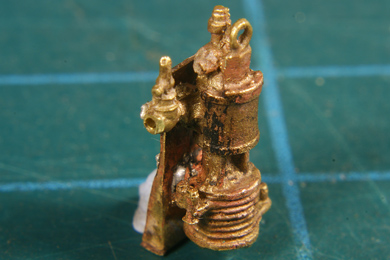
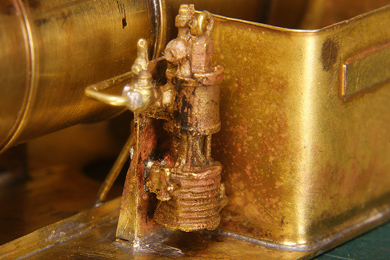
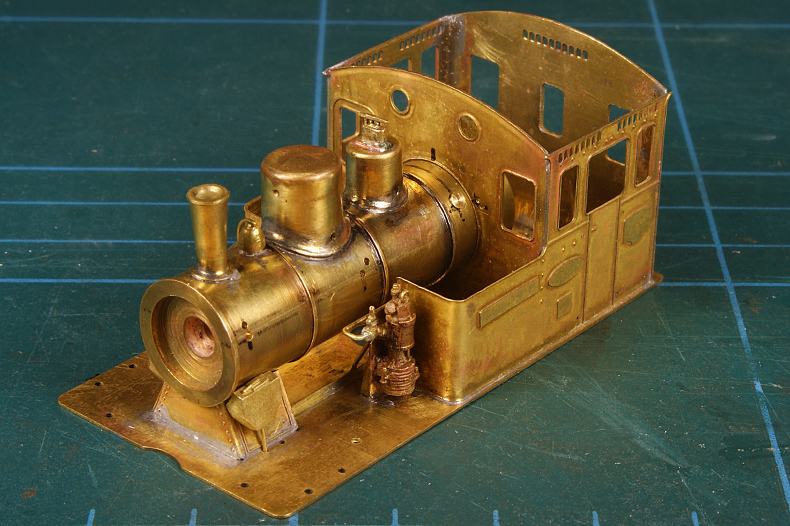
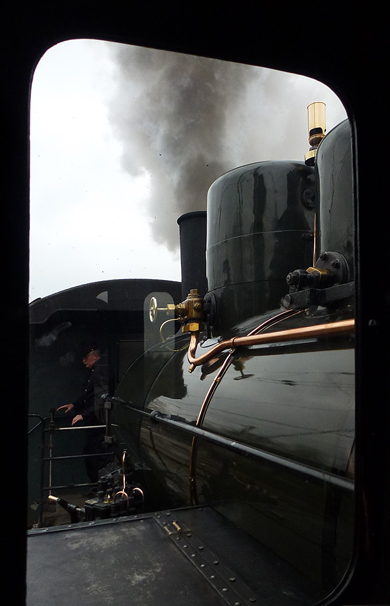
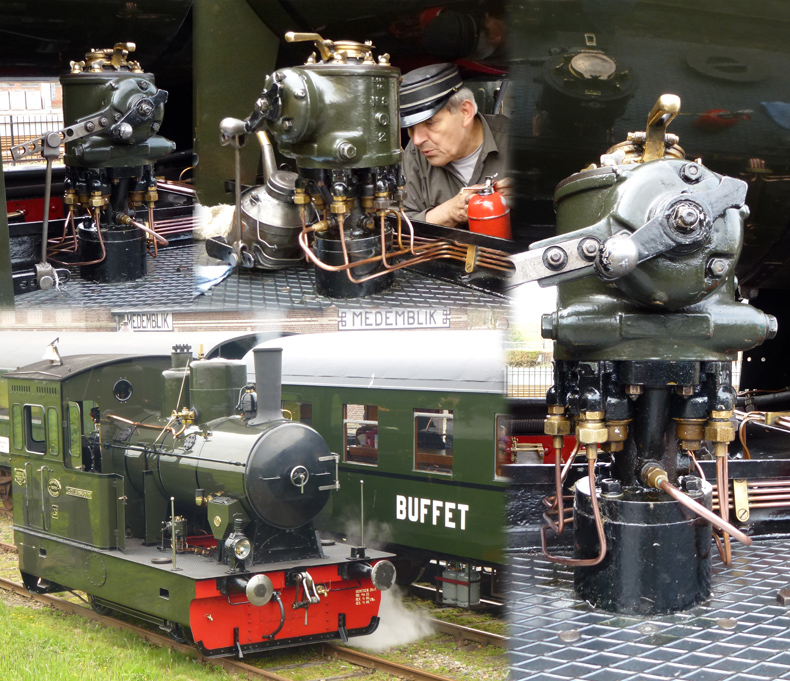
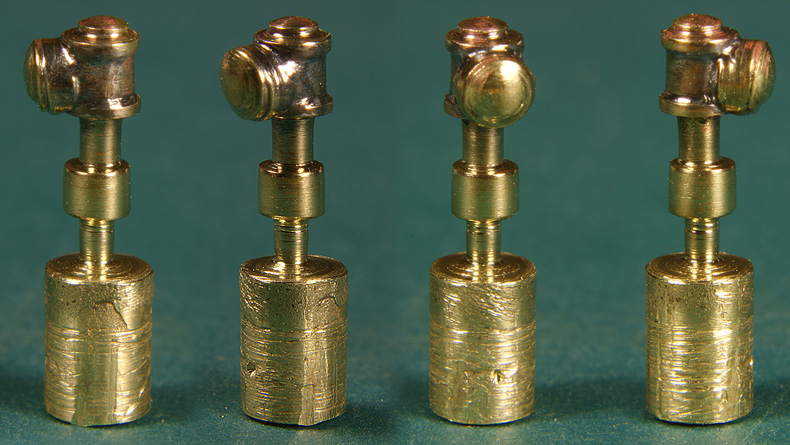
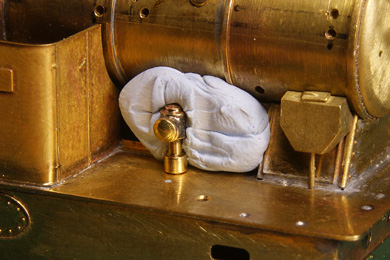
- The lubricator
The sandboxes |
|
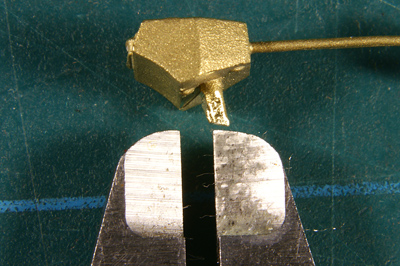 |
The sandbox is measured from the centre of the spigot to the edge |
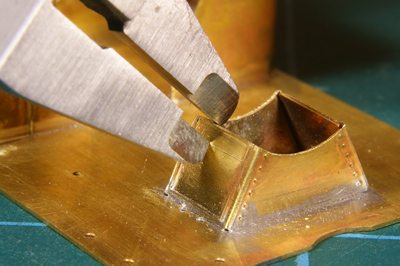 |
That distance is scribed in the smokebox support |
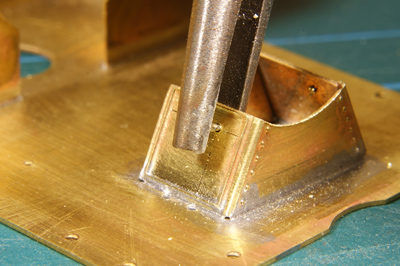 |
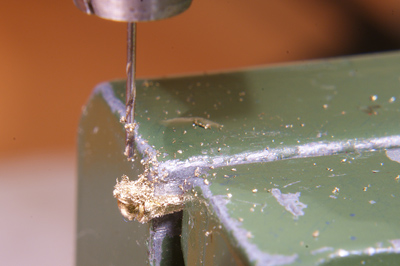
I have a DYI rivet press. It is also useful to make a pilot dimple to prevent the drill from running away |
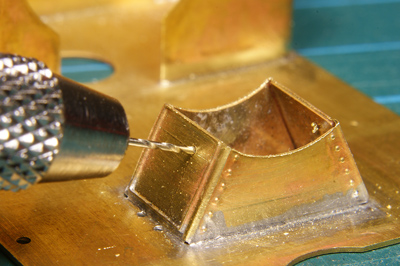 |
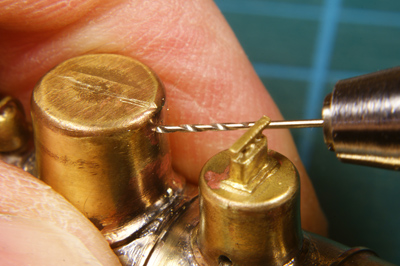
Pre-drill with 0.5 mm Final drill with 0.8 mm |
| One hole was not accurate enough, so with a round file I "relocated" the hole. | |
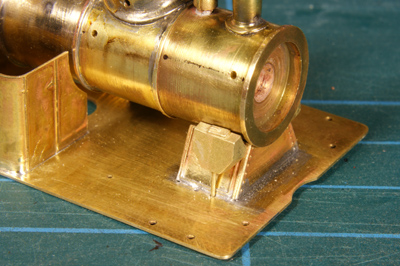 |
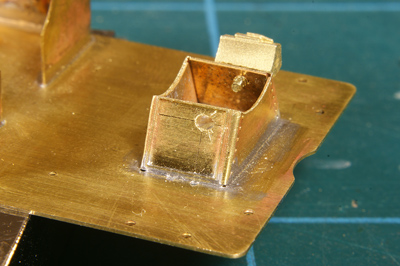
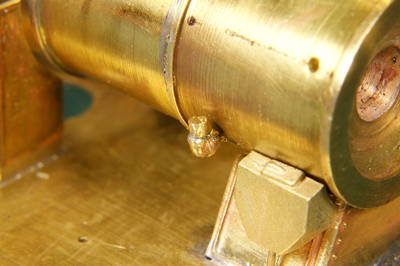
Sandboxes soldered in place |
Roof of the cab |
|
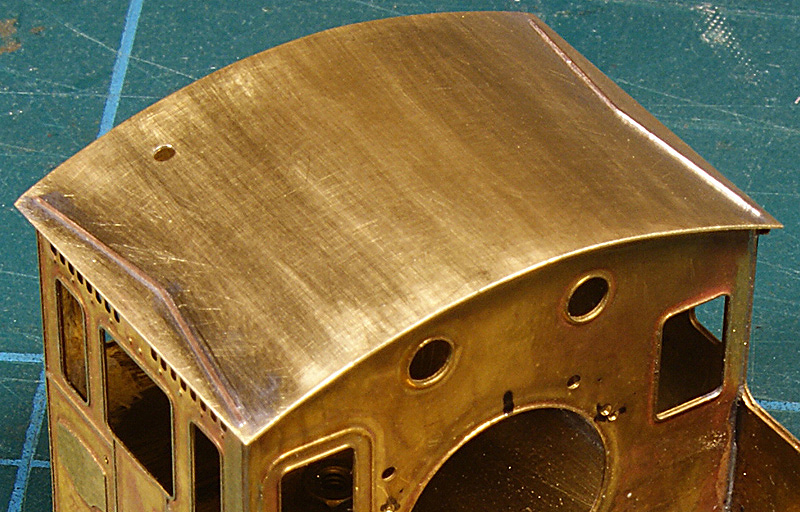
| Once I had prepared the roof of the cab I turned my attention to the few details on the roof | |
 |
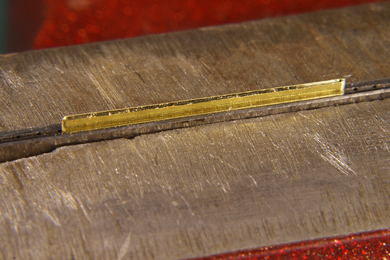
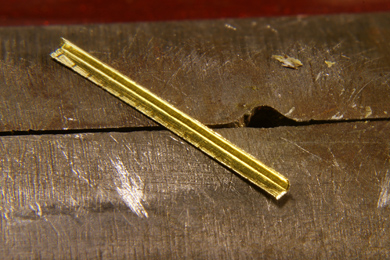
The rain gutters were easily made from 0.3 mm brass wire |
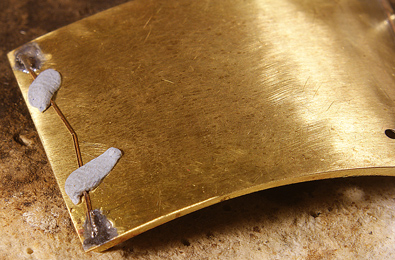 |
Blu-Tack serves to hold them in place when the brass wire was tack soldered on its outer ends and later in the middle |
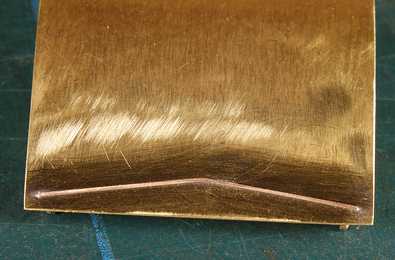 |
Once the whole wire was soldered it was sanded flat and down to appr. 0.15 mm |
 |
|
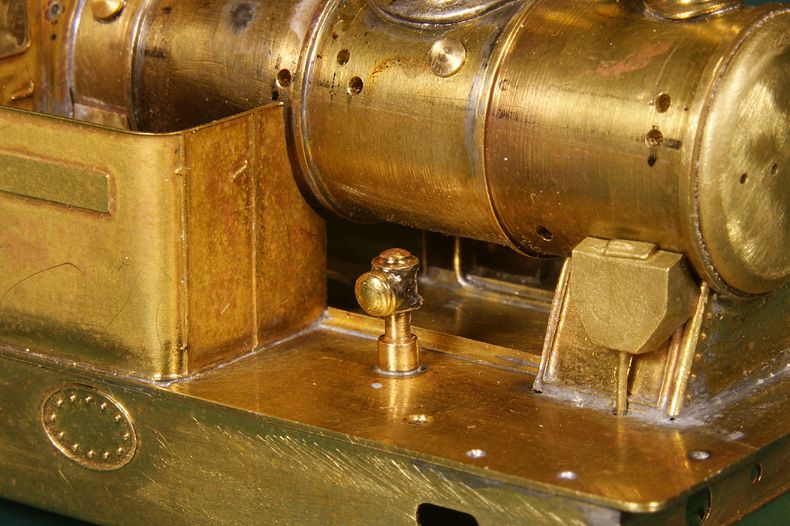
The coal bunker hatch |
|
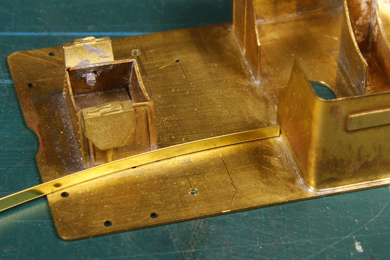
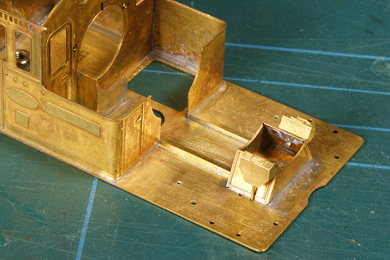
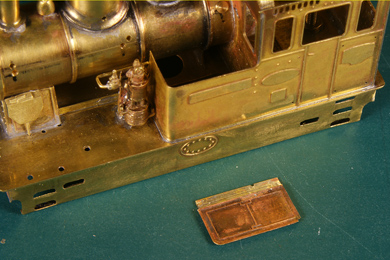
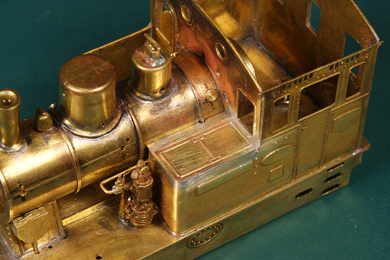
| The coal hatch has an issue you wouldn't expect in a quality kit like this: it is too small. There is a distinct and obtrusive gap between the hatch and the boiler. | |
| In theory this could be correct if the coal bunker were to stand proud of the boiler. But my photos confirmed what I already suspected: the coal bunker hatch has a hinge some 15-20 cm away from the boiler and there is a strip on top of the coal bunker that completely fills the void between hatch and boiler cladding. | |
| So I made a strip of 0.3 mm brass sheet, soldered it under the hatch and filed it to fit. | |
First the boiler needs to be soldered into place. The hatch has a little notch to accomodate the boiler ring passing along the hatch. If you solder the hatch first, the boiler will get stuck when you try to insert it. Undoubtedly there are tricks to manipulate the boiler once the hatch is in place, but make it yourself easy and solder the boiler first. |
|
Soldering took place from the outside. That requires some extra cleaning but it is simply impossible to solder it from the inside. I used 140 C solder so I would not disturb other nearby solder seams. I did not solder the seam between the hatch and the boiler. The solid brass boiler drains all heat and the solder simply will not flow. I made that seam as narrow as possible by working very accurately. |
[TO BE CONTINUED]












.JPG)



Sign my
GuestBook