Garrattfan's Modelrailroading Pages

Fairlie Merddin Emrys
5.5 Main assembly
 |
|
 |
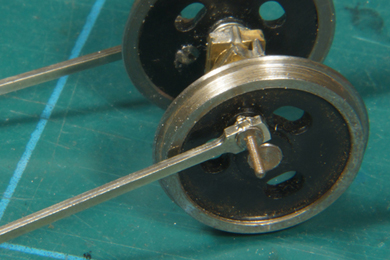
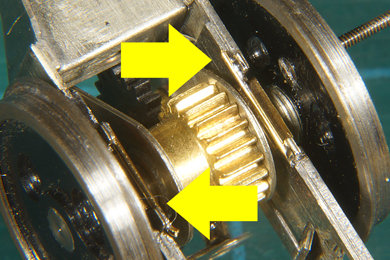
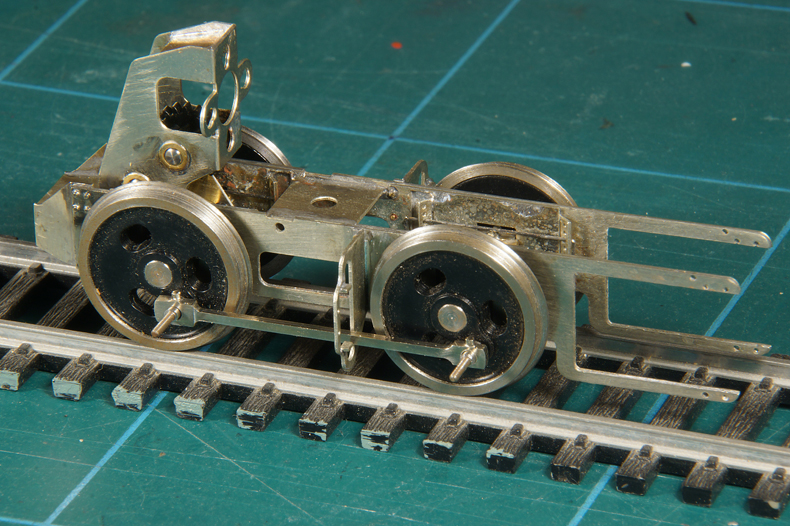
The rear geared axle was quite fiddly. For a long time I tried to figure out a way to fit the entire assembly in the quarterer but I finally gave up. I quartered the rear axle simply by eye, aiming for the 90 degrees I had achieved on the other axle. Having the front axle exactly at 90 degrees now proved to be an advantage as guessing a 90 degree angle is much easier than a 96.5 degree angle. |
After [143]-[144]. Much to my own surprise the unit ran straight away without any binding whatsoever after only one try. No correction was needed. All the effort to get an exact 90 degree angle between the crankpins paid out in full.
|
|
|
My first test ride |
|
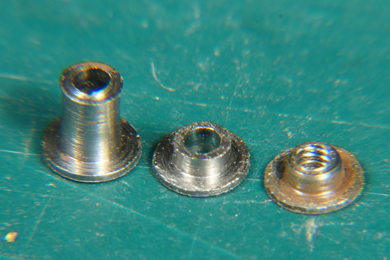 |
[148] Now time for some tedious work. in order to fix the coupling rod to the leading axle the top hat bearing need to be shortened to 0.9mm (middle). |
 |
This bearing is moved over the crankpin |
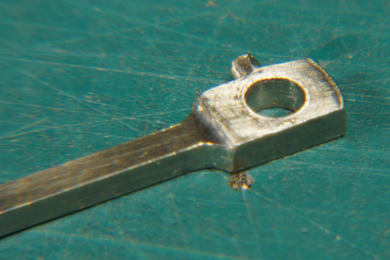 |
The rod is then offered up to the bearing with the RAISED SIDE ON THE INSIDE!! |
 |
[147] Then the bearing and rod are locked by firmly screwing on a threaded bearing. Once satisfied, snip off the crankpin and file it flush. |
 |
|
 |
[120] The manual recommends chamfering the oute ends of the slide bars. Personally I think it was not necessary but once in place it is too fiddly to correct. |
 |
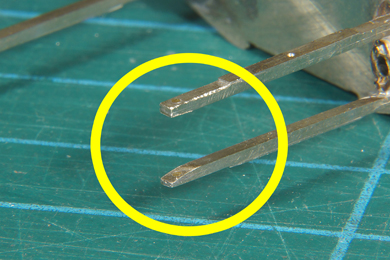
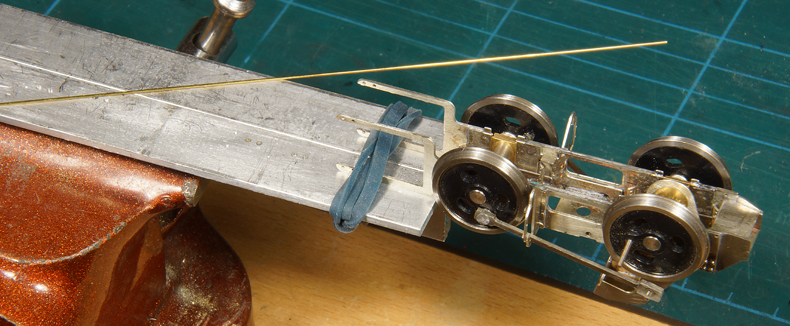
[145] The keeper wires are soldered in place to prevent the axleboxes from falling out. |
 |
|
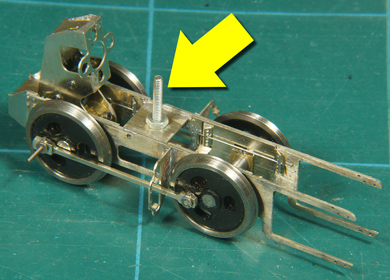
Tip: Use the hole in the middle frame stretcher to insert an M2 bolt. Tighten up and you have an excellent hold to clamp the frame upside down while soldering the keeper wire and later working on the pickups. |
 |
 |
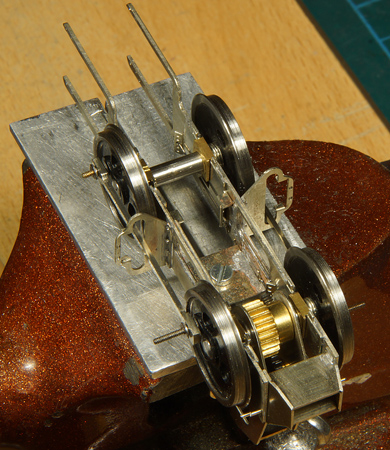
The two inner tophat bearings are filed down, protruding just 0.1 mm. The four outer tophat bearing are file down to provide for the depth of the threaded securing nut plus 0.1 mm play for the rod. That needs some maths. |
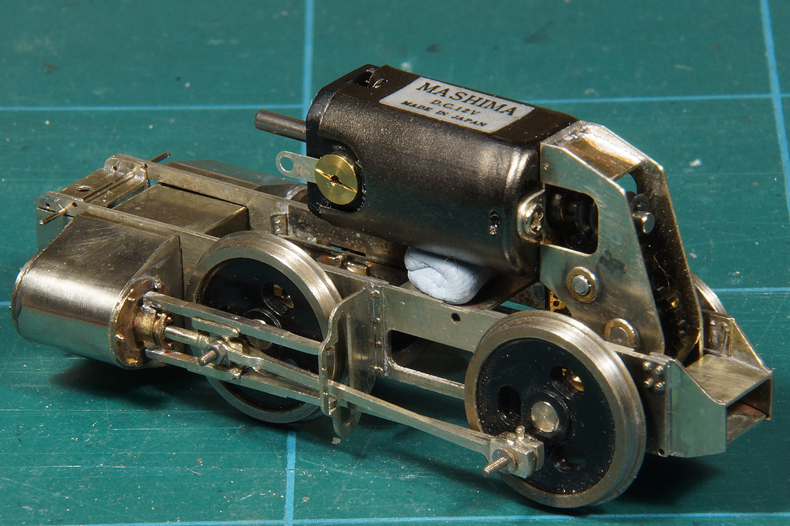
There it is. The cylinder block and crossheads are still not permanently fixed as I need to remove them before painting. |
|
 |
|
|
After the assembly of the main drive rods and the crossheads all things kept going smoothly as the video shows. The movement in the leading axle is caused by a little play in the axleboxes in the frame. Not much I can do about that. Next thing I will do is adding the wipers and the wiring (instructions [159] etc.), so after that I can do a first road test. |
|


Sign my
GuestBook